
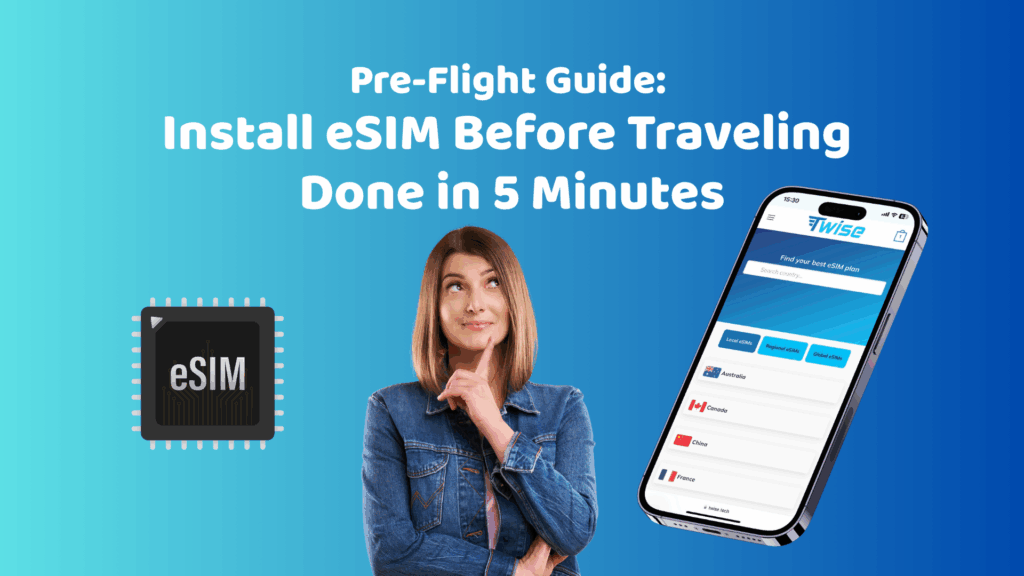
Pre-Flight Guide: Install eSIM Before Traveling – Done in 5 Minutes
Nov
Ever landed in a new country only to realize your mobile data is… gone? Don’t let that be you. The smartest move before your next trip is to install your eSIM before traveling. It takes less than five minutes and guarantees you’ll have instant data the moment you touch down, no searching for Wi-Fi, no overpriced roaming, no stress. In this quick pre-flight guide, we’ll walk you through everything you need to know to install and activate your eSIM like a pro, so your adventures start online and uninterrupted from the very first step off the plane.
Why You Should Install Your eSIM Before Traveling
Installing an eSIM prior to travel offers several advantages that align with individual preferences. For individuals who tend to be meticulous about travel arrangements, activating an eSIM before departure can provide reassurance. Additionally, there are several other benefits to consider:
- Identifying issues early: If any connectivity issues arise with your eSIM, it is preferable to address them promptly rather than discovering them later.
- Eliminating roaming fees: By activating your eSIM before traveling abroad, your device will utilize the data plan that you have already purchased, avoiding unexpected roaming charges unless you deplete your data, switch to a physical SIM, or disable your eSIM.
- Time efficiency: For those concerned about the activation duration of an eSIM, rest assured that it typically requires only a few seconds to activate, enabling immediate internet access upon arrival. This can save you considerable time, potentially minutes or even hours, in instances where a reliable connection is not available.
If this is your first time trying an eSIM, start with our detailed guide Travel eSIM for Beginners: How to Get Started.
5-Minute Pre-Flight eSIM Installation Checklist
Follow these quick steps before heading to the airport to ensure a smooth and stress-free start to your trip.
Step 1: Install Your eSIM Profile
This is where your journey begins – adding your eSIM plan to your device.
Find Your QR Code: Open the confirmation email you received from Twise after purchasing your plan.
Open Cellular Settings:
- iPhone: Go to Settings → Cellular → Add eSIM
- Android (Samsung/Pixel): Go to Settings → Network & internet → SIMs → + Add more
Scan the QR Code: Use your phone’s camera to scan the code. Your eSIM profile will download automatically.
Label Your eSIM: Give your new plan a name like “Travel eSIM” or “Europe Data” – this helps you easily distinguish it from your main SIM.
Pro tip: Do not activate your plan or enable Data Roaming yet. The goal here is to install the eSIM before traveling, not to use it. Activation should only happen once you arrive at your destination.
Step 2: Confirm the eSIM Is Installed
A quick verification ensures your plan is ready for activation when you land.
- Go back to your Cellular Settings (iPhone) or Network & Internet → SIMs (Android).
- You’ll see your newly labeled eSIM listed next to your main SIM.
- It may display “Inactive” or show no signal – that’s normal. It means it’s installed and waiting for you to activate your eSIM before travel or upon arrival.
Step 3: Keep Your Primary SIM Active (for Now)
Before takeoff, keep your home SIM on, you might still need it for important messages or verification codes.
- Ensure your primary SIM remains active for calls and texts.
- In Cellular Data Settings, confirm your home plan is still selected for data.
- You’ll switch data to your Twise eSIM once you’ve landed and are ready to connect.
When You Land: Activate Your eSIM in 30 Seconds
Because you’ve already taken the time to install your eSIM before traveling, activation when you land is effortless and takes less than a minute.
Step 1: Turn On Your eSIM
Open your phone’s Cellular Settings and locate your travel eSIM (for example, “Travel eSIM” or “Europe Data”).
Toggle it ON to enable the plan.
Step 2: Enable Data Roaming
Within the settings of your travel eSIM, switch Data Roaming to ON.
This allows your phone to automatically connect to Twise’s trusted local partner networks, giving you instant, reliable data coverage wherever you are.
Step 3: Select Your eSIM for Data Usage
In your Cellular Data Settings, change your data source from your primary SIM to your Twise eSIM.
Once selected, your phone will connect to the nearest available network within seconds.
That’s it – you’re connected! Your phone will show a signal bar and local carrier name, confirming your data connection is active. By installing your eSIM before traveling and activating it upon arrival, you’ve set yourself up for a smooth, worry-free start to your trip – no roaming chaos, no SIM swaps, just instant connectivity.
Travel Smarter with Twise eSIM

You’ve seen how simple it is to install eSIM before traveling and how fast it is to activate eSIM before traveling. With Twise, your connection travels with you: no roaming shocks, no SIM juggling, and no airport Wi-Fi hunts.
Whether you’re heading to Tokyo, Paris, or New York, Twise gives you reliable global data in minutes, all from your phone. Install before you fly, activate when you land, and step into your next destination fully connected.
Ready to stay online wherever you go? Choose your perfect Twise eSIM plan and experience travel freedom like never before.
Read more: Steps to Check Carrier Compatibility for Unlocked Phones – make sure your device is ready before installing.