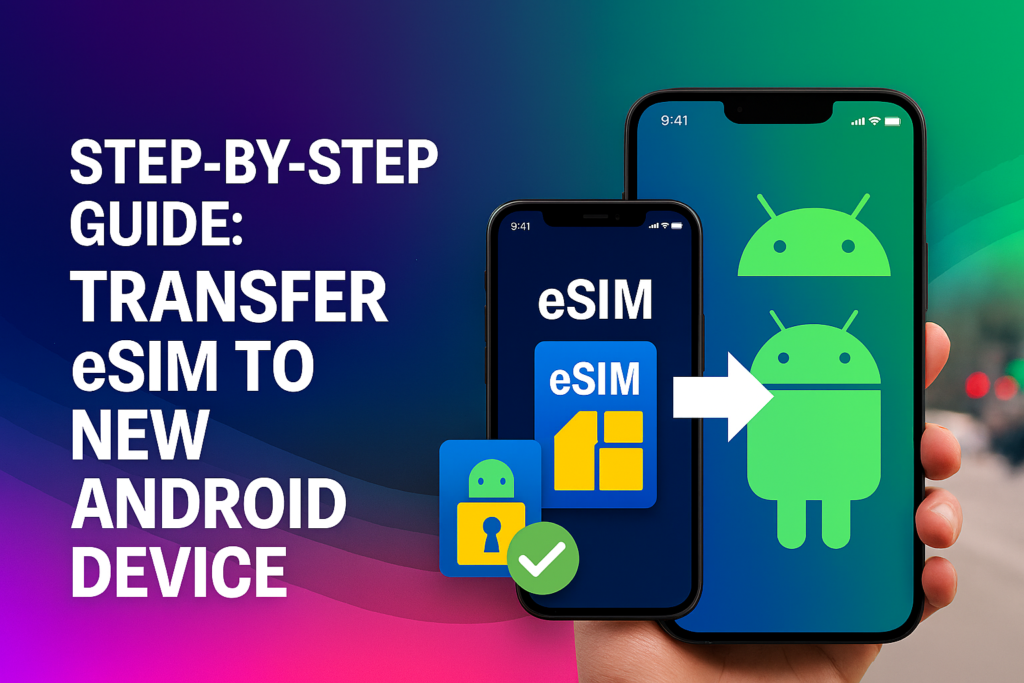
Step-by-Step Guide: Transfer eSIM to New Android Device
Switching to a new phone doesn’t mean losing your mobile connection. Whether you’re upgrading to the latest Samsung Galaxy or Google Pixel, knowing how to transfer eSIM to new Android device can save you time and keep you connected without interruption.
In this guide, we’ll walk you through each step of the Android eSIM transfer process – from scanning QR codes to device-specific tips for popular models like Samsung and Pixel phones.
Requirements for eSIM transfer to a new phone
Before transferring your eSIM to a new Android phone, make sure you have everything ready. Here’s what to check:
- Check device compatibility: Go to Settings > SIM Manager or Connections to see if your phone supports adding an eSIM. Most newer models – like the Google Pixel 3 and later or Samsung Galaxy S20 and newer – are eSIM-compatible.
- Back up your data: Save important information such as contacts, messages, and files before switching devices – especially if you’re traveling or using mobile data abroad.
- Confirm carrier support: Not all carriers allow eSIM transfers. Contact your carrier (e.g., AT&T, T-Mobile) to confirm and ask whether you’ll need a QR code or a reactivation process.
- Have your eSIM details ready: Keep your activation code, ICCID, and PIN/PUK information handy for a smoother setup on your unlocked phone.
- Ensure internet access: Both phones should be connected to a stable Wi-Fi or high-speed data network during the transfer. If you’re on a limited data plan, switch to Wi-Fi to avoid extra charges while setting up your eSIM.

Step-by-step guide: transfer eSIM to new Android phone
To transfer your eSIM to a new Android phone, open the Settings app on both devices. Then go to Connections or Network & Internet, select SIM Manager or SIMs, and tap Add eSIM or Transfer eSIM. Follow the onscreen instructions – this usually involves scanning a QR code or matching codes between the two phones. Make sure both devices are connected to Wi-Fi and kept close together during the process.
Prepare Your Devices
- Connect to Wi-Fi: Ensure both your old and new Android phones are connected to a stable Wi-Fi network.
- Keep phones nearby: Place both devices next to each other during the transfer.
- Disable Wireless Account Lock (if applicable): Some phones require you to turn this feature off before transferring your eSIM.
Start the Transfer on Your New Phone
- Open Settings: On your new Android phone, launch the Settings app.
- Go to SIM settings: Navigate to Connections or Network & Internet, then tap SIM Manager or SIMs.
- Initiate eSIM transfer: Select Add eSIM or choose Transfer eSIM from another device.
- Follow onscreen prompts: The system will guide you through the process, which may include scanning a QR code or confirming a connection between your devices.
Complete the Transfer on Your Old Phone
- Scan QR code (if shown): If your new phone displays a QR code, scan it with your old phone’s camera.
- Confirm transfer: Approve any confirmation pop-up on your old device to start the transfer.
- Enter verification code (if required): You may need to enter a code on one or both phones to finish activating the eSIM.
![]()
Confirm Activation
After the transfer, test your mobile data, calls, and text messages on the new phone to make sure everything is working correctly.
Read more: Step-by-Step: Transfer eSIM to a New iPhone
Different ways to move your eSIM between devices
If the steps above don’t work, don’t worry – there are still other ways to transfer your eSIM from your old phone to your new Android device. Depending on your carrier or phone model, you may need to use a manual setup or an alternative transfer method.
Transfer through your carrier
Contact your carrier: Let them know you’d like to transfer your eSIM to a new Android phone. They may handle this online, through their mobile app, over the phone, or in-store.
Provide account details: Be ready to share your account number, phone number, and IMEI (found under Settings > About Phone).
Use your carrier’s app (if required): Some carriers require you to use their app to download and activate your eSIM plan.
Follow their instructions: Complete the transfer by following your carrier’s specific setup steps.
Transfer using a QR code
Many carriers send a QR code for eSIM activation when you purchase a new data plan or transfer your eSIM to a new phone – whether Android or not.
On your new phone, go to Settings > Connections > SIM manager > Add eSIM.
Choose Scan QR code from service provider and scan the code provided by your carrier.
Once scanned, confirm the setup, wait for activation, and then set the eSIM as your primary mobile service.
Transfer an eSIM card manually
If your carrier provides activation details instead of a QR code, you can manually transfer your eSIM to a new Android phone.
Here’s how to do it:
- On your phone, go to Settings > Connections > SIM card manager > Add eSIM.
- Select Enter activation code or Enter details manually.
- Enter the SM-DP+ address (which links your phone to the eSIM server) and the activation code provided by your carrier.
- Follow the on-screen prompts to complete activation, then set the eSIM as your primary mobile service.

Can I transfer a travel eSIM?
Travel eSIMs make staying connected abroad simple and stress-free. You can instantly access local networks at your destination and skip the costly roaming charges.
That said, most travel eSIMs – including those from Twise – are for one-time use only. Once installed on a phone, they can’t be moved to another device. If you switch phones, you’ll need to buy a new eSIM for your next trip.
Before you travel, always double-check whether your eSIM is compatible with your device to avoid any last-minute surprises.

