

eSIM for iPhone 17: Best Tips for Compatibility, Setup and Travel Use
Planning to use an eSIM for iPhone 17 at home or abroad? This guide explains which iPhone 17 models support eSIM, how compatibility changes by purchase region, how many profiles the phone can store, and how to install or transfer a plan using iOS 26. It also covers the settings travelers should change before departure, including cellular data, roaming, data switching, home-line access, and carrier-lock checks. You will also learn when carrier roaming, a local SIM, or a prepaid travel plan makes sense, plus practical fixes for QR-code, activation, signal, and mobile-data problems.
Does the iPhone 17 support eSIM?
Yes. The iPhone 17, iPhone 17 Pro, and iPhone 17 Pro Max support eSIM, but the available SIM configuration depends on where the phone was originally purchased.
Some versions are eSIM-only and have no physical SIM tray. Models sold in many other markets support both a nano-SIM and eSIM, while models intended for mainland China follow different rules.
The key question is therefore not simply, “Does iPhone 17 support eSIM?” It is:
iPhone 17 eSIM compatibility by purchase region
Check the phone’s purchase market before buying a plan. The country you are visiting does not change the phone’s hardware; the region where the device was sold determines whether it has a SIM tray and whether eSIM installation is supported.
Apple’s official SIM-type guide provides the most current model-by-model information.
| iPhone purchase region | Typical iPhone 17 SIM configuration | Can you install a travel eSIM? | Important limitation |
| United States, US Virgin Islands, Canada, Mexico, Japan, Guam, UAE, Saudi Arabia, Bahrain, Kuwait, Qatar, and Oman | eSIM-only | Yes | No physical SIM tray |
| Vietnam, most of Europe, Australia, New Zealand, and many other international markets | Nano-SIM and eSIM, with dual-eSIM support | Yes | Exact configuration should still be checked before purchase |
| Mainland China | Standard iPhone 17, 17 Pro, and 17 Pro Max use physical SIM configurations and do not support eSIM | No, on standard iPhone 17 models | Only selected models such as iPhone 17e and iPhone Air support mainland-China eSIM |
| Hong Kong and Macao | Model-specific configuration | Usually, but verify the exact model | Some regional iPhones have historically used two physical nano-SIM cards |
A note about the iPhone Air
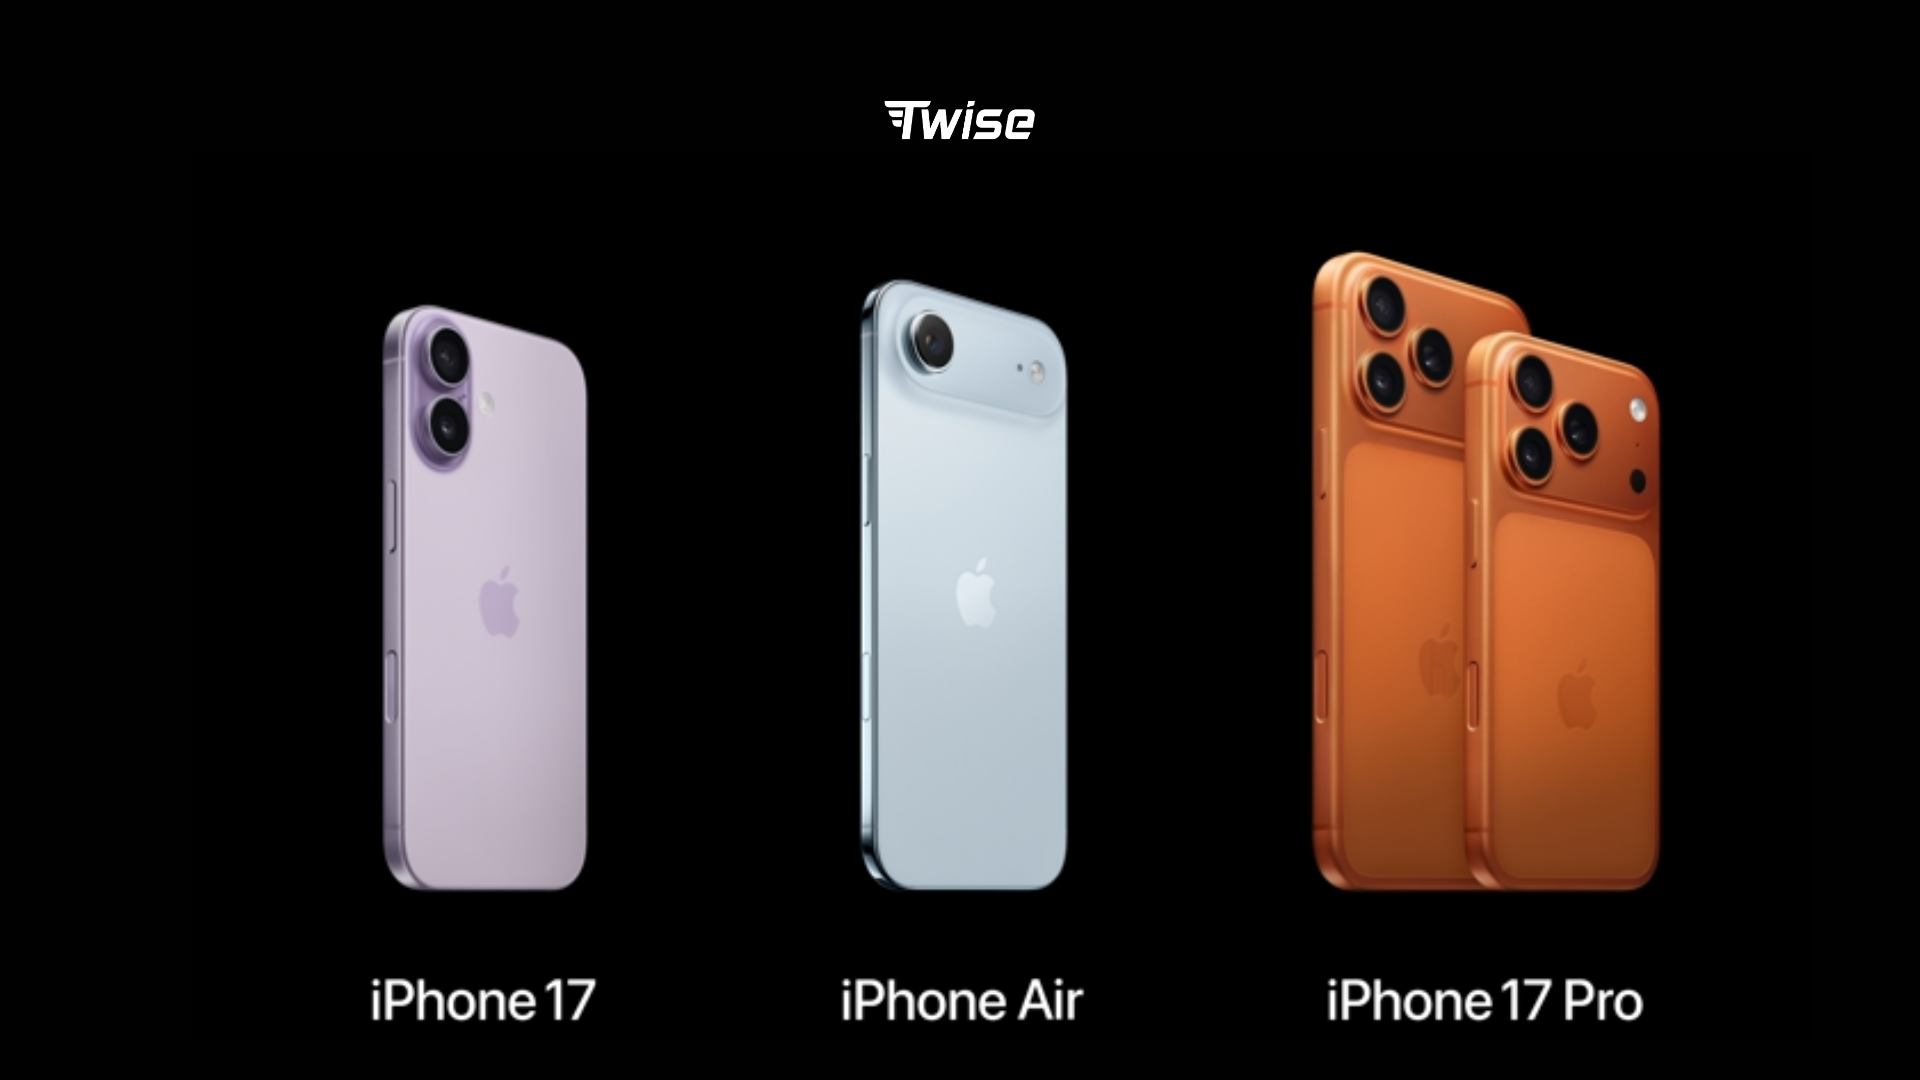
In many markets, iPhone Air is designed around eSIM and does not accept physical SIM cards. Do not assume its SIM arrangement is identical to the standard iPhone 17 simply because the devices were released in the same generation.
How many eSIMs can an iPhone 17 use?
A supported iPhone 17 can generally:
- Store eight or more eSIM profiles.
- Keep two eSIMs active at the same time.
- Use only one cellular data connection at a given moment.
- Switch between stored profiles in Settings without reinstalling them.
eSIM, physical SIM, or roaming: which is better for travel?
The best option depends on trip length, destination coverage, whether you need a phone number, and how much setup you want to complete before arrival.
| Connection option | Best for | Main advantage | Main limitation |
| Prepaid travel eSIM | Short holidays, multi-country trips, airport arrivals | Install before departure and use data shortly after landing | Many plans provide data only |
| Local carrier eSIM | Longer stays and travelers who need local service | May include a local number, calls, SMS, and local pricing | Registration, local payment, or store activation may be required |
| Physical local SIM | Destinations with limited prepaid eSIM availability | Widely available in traditional telecom markets | Impossible on eSIM-only iPhone 17 versions |
| Home-carrier roaming pass | Short trips where convenience matters more than price | Keeps the existing number and requires little setup | May be more expensive or have lower high-speed data limits |
| Public Wi-Fi only | Minimal-connectivity trips | No mobile plan purchase | Unreliable outside hotels and cafés, with security and login limitations |
Compare travel connection options
A travel eSIM is usually best when
- You want mobile data immediately after landing.
- Your trip includes several countries.
- Airport SIM counters may be closed when you arrive.
- You do not require a local phone number.
A data-only plan is generally enough for Google Maps, WhatsApp, email, social media, app-based calls, hotel communication, and digital tickets.
A local carrier plan may be better when
Consider a local carrier rather than a global prepaid plan when:
- You will stay for several weeks or months.
- Local businesses frequently require a domestic phone number.
- You need conventional voice calls or SMS.
- Your accommodation, bank, delivery service, or workplace needs local verification.
- The destination offers inexpensive tourist plans directly from major carriers.
Some countries require passport registration for prepaid mobile service. Others require activation at a carrier store or impose restrictions on plans sold to non-residents.
Home-carrier roaming may still make sense
Roaming is not automatically the wrong choice. It can be practical for a one- or two-day business trip, a long airport connection, or a destination already included in your domestic plan. International roaming works the same whether your home number is held on an eSIM or a physical SIM. The billing conditions come from the carrier plan, not the SIM format.
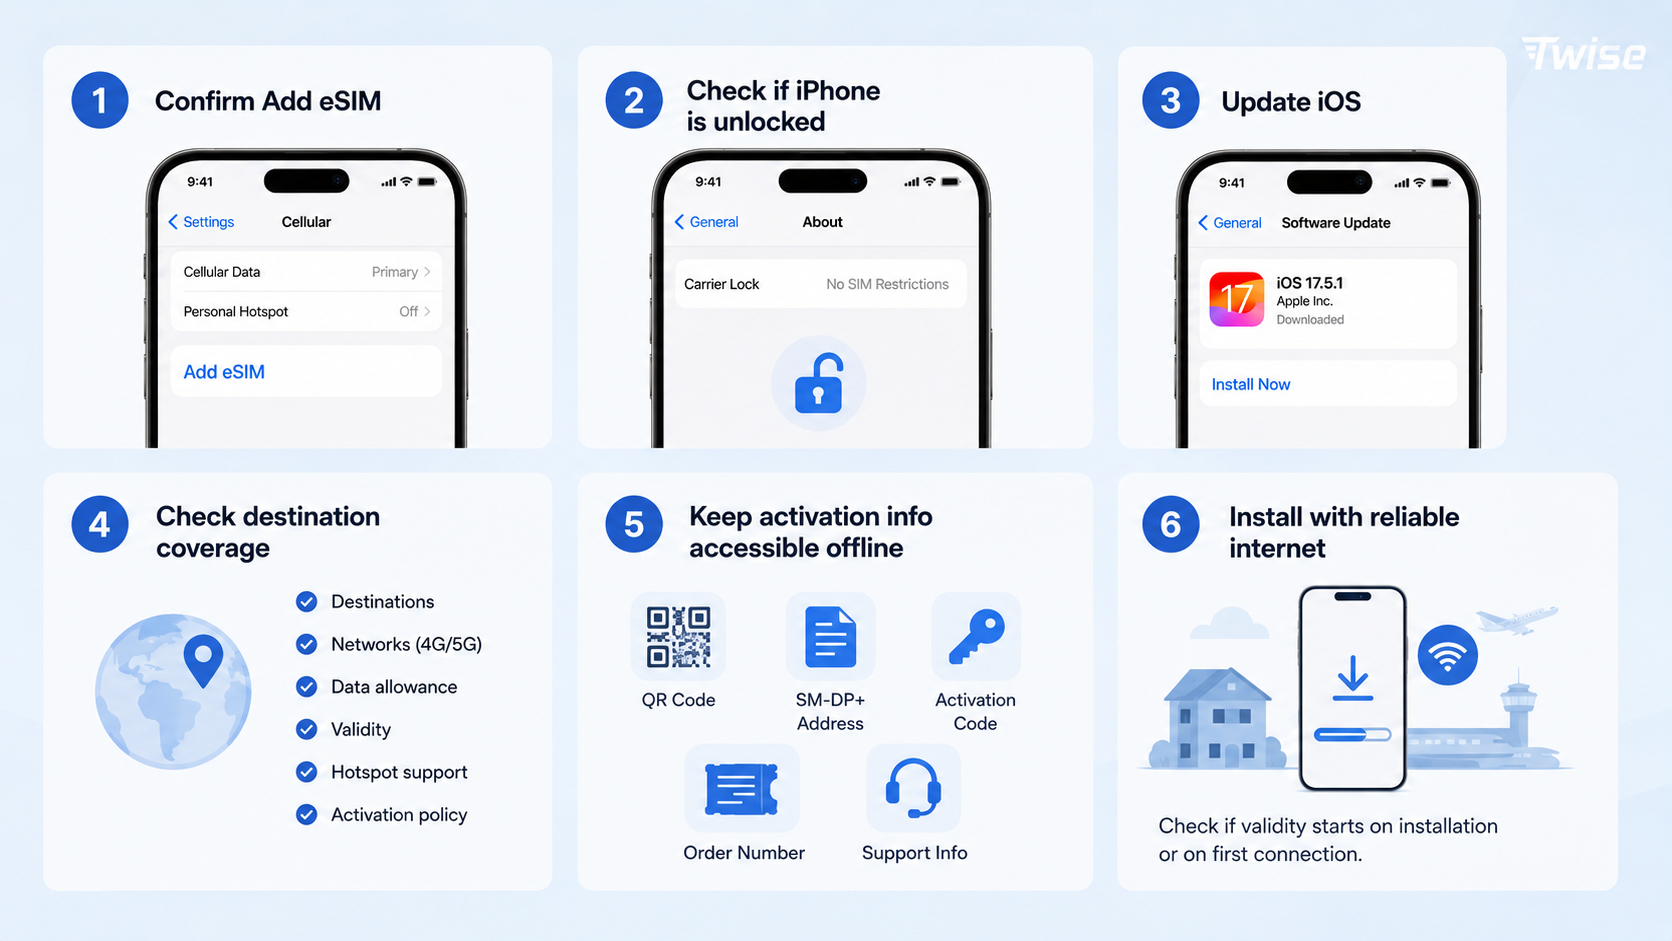
What to check before installing an eSIM for iPhone 17
Complete these checks before buying a plan.
How to install an eSIM on iPhone 17
Apple supports several activation methods. The exact options shown depend on the carrier and the plan.
The full sequence is also available in Apple’s official eSIM setup instructions.
| Installation method | What you need | Best use case | Main caution |
| QR code | QR code from the provider | Most prepaid travel plans | Codes may be single-use |
| Carrier activation | Carrier assigns the plan to the phone | New phone purchased through a supported carrier | May require account verification |
| Carrier app or activation link | Provider app or secure link | Guided installation without scanning | Use only the provider’s official app or message |
| Manual entry | SM-DP+ address and activation code | QR code cannot be scanned | Every character must be entered correctly |
| eSIM Quick Transfer | Old and new iPhone nearby | Moving an existing number to iPhone 17 | Carrier support is required |
| Android-to-iPhone transfer | Compatible carrier and devices | Moving from a supported Android phone | Not available across every carrier |
Install an eSIM with a QR code
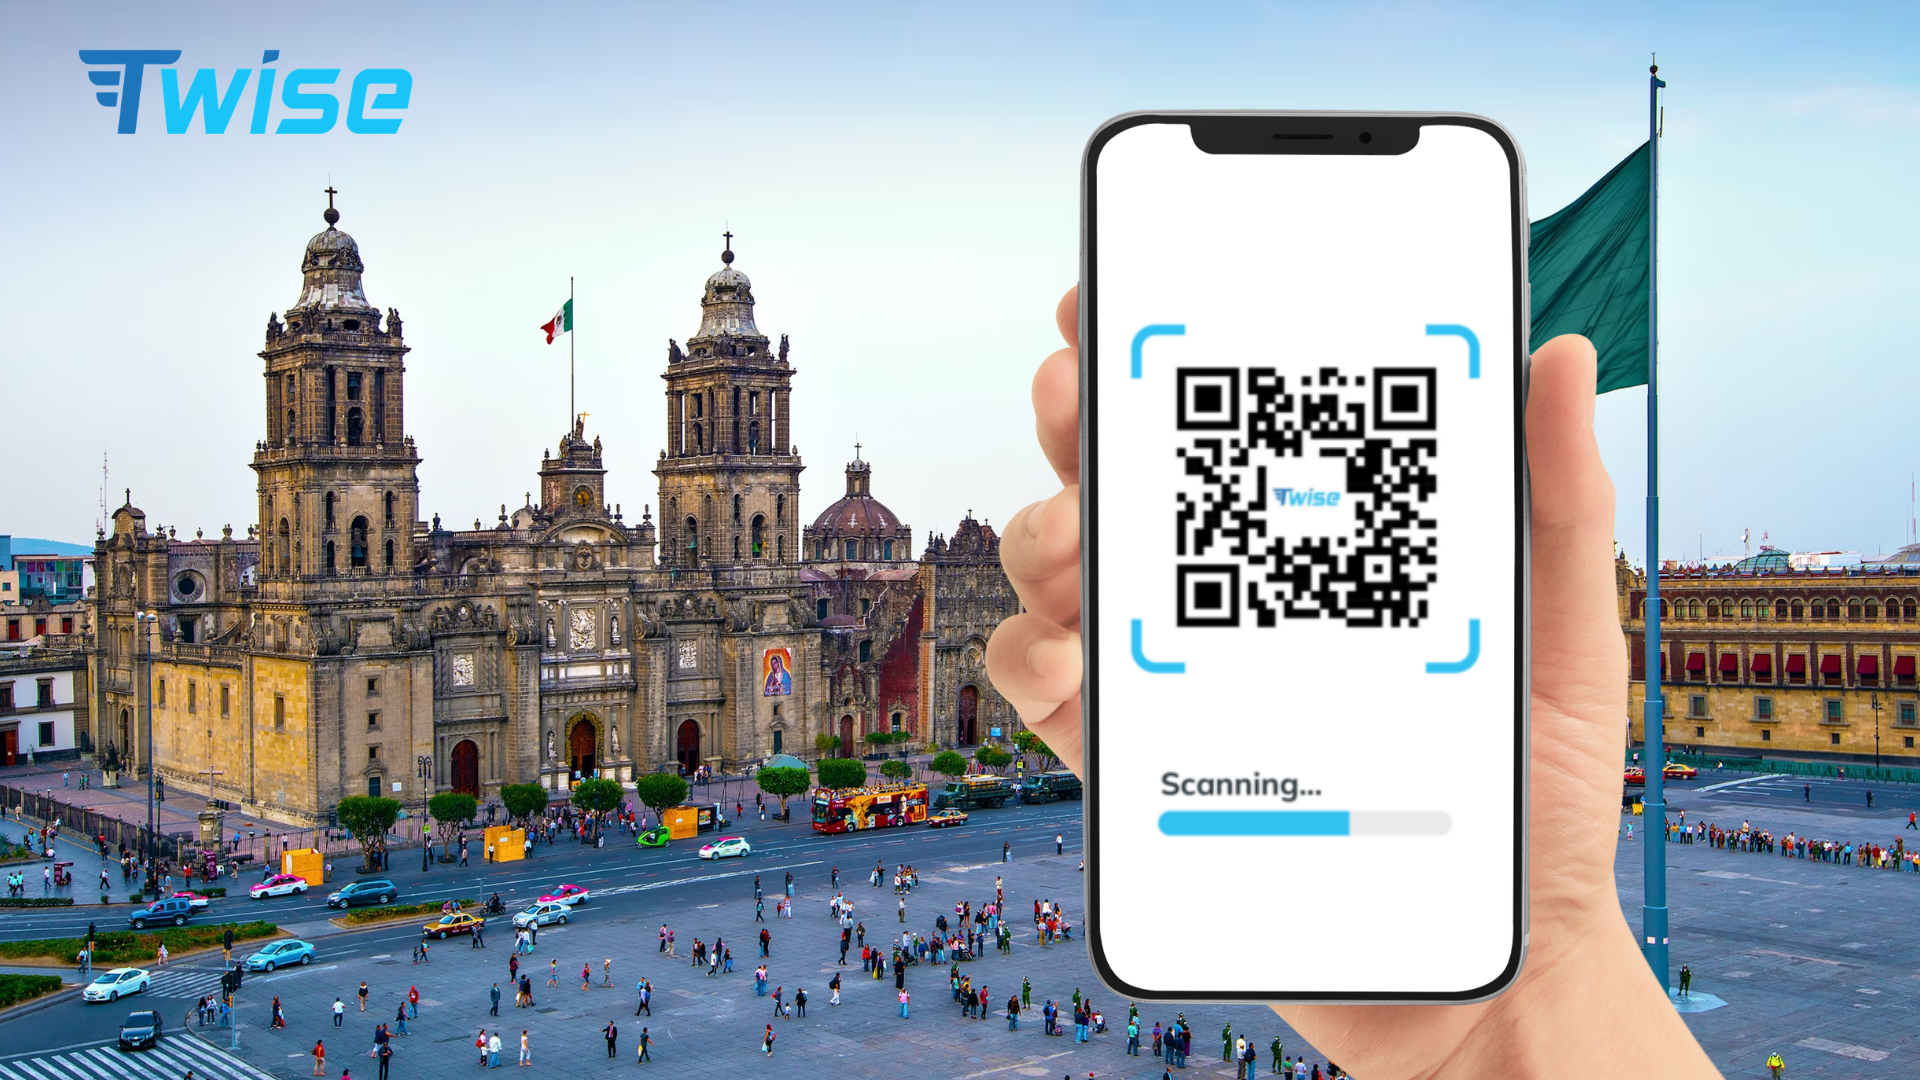
- Connect the iPhone to Wi-Fi.
- Open Settings.
- Tap Cellular or Mobile Data.
- Tap Add eSIM.
- Select Use QR Code.
- Scan the code supplied by the carrier or travel provider.
- Tap Continue.
- Confirm Add Cellular Plan.
- Give the line a clear label, such as Travel, Japan, or Europe.
- Choose the line to use for cellular data.
Do not delete the provider email immediately. Keep it until the plan has connected successfully.
Install using manual details
Use this method when the provider supplies an SM-DP+ address and activation code.
- Open Settings → Cellular/Mobile Data.
- Tap Add eSIM.
- Select Use QR Code.
- Tap Enter Details Manually.
- Enter the SM-DP+ address.
- Enter the activation code.
- Add the confirmation code if one was supplied.
- Follow the remaining prompts.
Copy and paste the information when possible. Confusing letters, numbers, spaces, or hyphens can cause activation failure.
Install through a carrier app or link
Some providers allow installation directly from an App Store app. Others send a secure activation link that opens the iPhone setup screen.
Before proceeding:
- Confirm that the developer name matches the carrier.
- Avoid installing profiles from unofficial websites.
- Do not send the QR code or activation details to another traveler.
- Treat the activation code like a password.
Many QR codes can be downloaded only once and cannot be moved to another device without provider assistance.
What changed from iPhone 16 to iPhone 17?
The most important eSIM change is the broader use of eSIM-only hardware.
For the iPhone 16 generation, eSIM-only versions were primarily associated with the United States. Apple expanded the eSIM-only configuration for the iPhone 17 family to additional purchase markets, including Canada, Mexico, Japan, several Gulf countries, and selected territories.
Other practical changes include:
- More travelers buying an iPhone without a physical SIM tray.
- Streamlined travel-plan prompts in iOS 26.
- Improved switching between a current line and a travel line.
- Automatic travel-line handling after returning home in supported situations.
An upgrade from iPhone 16 to iPhone 17 does not necessarily change how many active eSIMs you can use. Both generations may support dual active eSIMs. The significant difference is where physical SIM versions are still sold.
Common iPhone 17 eSIM problems and fixes
Most issues fall into four categories: device compatibility, carrier lock, unsuccessful installation, or incorrect data settings.
| Problem | Likely cause | What to do |
| Add eSIM is missing | Regional model does not support eSIM, or device restrictions apply | Check model number, purchase region, and Screen Time or management restrictions |
| QR code is invalid | Code has expired, was already used, or belongs to another order | Request a replacement from the provider |
| eSIM remains on Activating | Plan activates only at the destination, internet is unstable, or carrier provisioning is delayed | Keep the line installed, connect to Wi-Fi, and check the activation policy |
| Signal bars appear but data does not work | Wrong data line, data roaming off, incorrect APN, or depleted plan | Select the travel line, enable roaming as instructed, and verify the plan balance |
| No Service after landing | Line disabled, unsupported network, weak coverage, or network selection issue | Turn the line on, toggle Airplane Mode, restart, and try automatic network selection |
| Home carrier charged roaming | Home-line roaming or data switching remained enabled | Review both line settings and disable unintended roaming |
| Personal Hotspot is unavailable | Plan does not allow tethering or carrier settings are incomplete | Check plan terms and carrier settings |
| eSIM disappeared after deletion | Deleting a profile does not preserve the installation code | Contact the provider for reinstallation or a new profile |
Get connected before departure
Start with the basic connection reset
After each step, check whether the carrier name and signal return:
- Turn Airplane Mode on for about 15 seconds.
- Turn Airplane Mode off.
- Open Settings → Cellular.
- Confirm that the travel line is enabled.
- Turn the line off and back on.
- Restart the iPhone.
- Open Settings → General → About and wait for a carrier-settings update prompt.
- Install the latest iOS update if available.
Apple recommends checking the line status, restarting the device, and updating carrier settings before escalating the issue.
How to delete an eSIM from iPhone 17
Open:
Settings → Cellular/Mobile Data → Select the plan → Delete eSIM
Depending on the iOS version, the button may appear as Delete eSIM or Remove Cellular Plan.
Deleting the profile from the phone does not necessarily:
- Cancel the subscription.
- Stop recurring billing.
- Refund unused data.
- Release the phone number.
- Make the original QR code reusable.
Cancel a recurring plan through the carrier or provider account separately.
Only delete a travel eSIM when:
- The trip is over.
- The provider confirms it is no longer needed.
- You have stored the order information.
- You are certain the remaining data will not be used.
- You understand whether reinstallation is possible.
For repeat destinations, turning the plan off may be safer than deleting it.
About Twise eSIM
If you use an iPhone 17 for maps, ride-hailing, translation, hotel messages, mobile payments, or travel bookings, having reliable mobile data ready from the moment you land can make the first hours of a trip much easier.
Twise offers local and regional eSIM plans that can be installed directly on compatible, carrier-unlocked iPhone 17 models. Instead of finding a physical SIM store after arrival, travelers can add the plan digitally, keep their home line on the phone, and select the Twise line for cellular data.
Current Twise eSIM options:
USA local eSIM – uses the T-Mobile or AT&T network and includes calls and SMS, suitable for road trips, rental cars, navigation, and travelers who need a local US number.
Europe eSIM – covers major European destinations and includes calls and SMS, suitable for multi-country trips, train travel, booking apps, and cross-border connectivity.
Japan local eSIM – connects to a local carrier network, suitable for train navigation, translation apps, digital tickets, maps, and travel within major cities and regional areas.
South Korea local eSIM – provides local network access with strong urban and public-transport coverage, suitable for maps, ride-hailing, translation, reservations, and everyday travel apps.
Almost all plans are installed digitally on the iPhone 17. There is no physical SIM to collect, no airport-store queue, and no need to remove your home SIM.
Before purchasing, confirm that your iPhone 17 supports eSIM and displays No SIM Restrictions under Settings → General → About → Carrier Lock. Regional iPhone 17 models may have different SIM configurations, particularly devices purchased in mainland China.
Most travelers do not need unlimited data for basic maps, messaging, transport apps, and hotel communication. However, travelers who use video calls, social media uploads, Personal Hotspot, cloud backups, or navigation throughout the day should compare the plan’s data allowance, validity period, and hotspot policy before choosing.
FAQs
