

Japan Travel Itinerary 14 Days: Tokyo, Kyoto, Osaka, Mt. Fuji & eSIM Data Tips
Sep
A practical Japan travel itinerary 14 days long connects Tokyo, Hakone, Kyoto, Nara, and Osaka without changing hotels every night. Spend four nights in Tokyo, one in Hakone, five in Kyoto, and three in Osaka if departing from Kansai Airport. If flying home from Tokyo, return there on Day 13 instead. Keep Mt. Fuji sightseeing weather-dependent, reserve important attractions, and compare individual train tickets before buying a rail pass. Prepare mobile data for station exits, hotel messages, translation, and changing routes, but save essential information offline too. This itinerary balances major sights with realistic transfers, luggage arrangements, and recovery time.
Japan Travel Itinerary 14 Days, Is It Enough for a First Trip to Japan?
What you can realistically cover
| Days | Base | Main plan |
|---|---|---|
| 1–4 | Tokyo | Neighborhoods and attractions |
| 5 | Hakone | Scenery and ryokan |
| 6–10 | Kyoto | Temples and Nara |
| 11–12 | Osaka | Food and city exploration |
| 13–14 | Osaka or Tokyo | Optional excursion and departure |
Prepare Your Japan Travel Data
What not to add automatically
Treat Hiroshima, Miyajima, Kanazawa, and Takayama as substitutions or extensions.
Recommended pace for first-time visitors
Choose two nearby sightseeing clusters daily, leaving evenings flexible.
Japan 14-Day Route: Open – Jaw or Round-Trip Tokyo?
Best route if you can fly into Tokyo and out of Osaka
Tokyo → Hakone → Kyoto → Nara day trip → Osaka → Kansai Airport.
What to change if your flight leaves Tokyo
Return on Day 13, replacing your optional Osaka-area excursion.
Why I would not schedule Osaka → Tokyo → airport tightly on Day 14
Separate long-distance rail from international departure to accommodate disruptions and luggage.
Narita vs Haneda arrival implications
Compare airport transfers against your hotel location, arrival time, and terminal.
Day 1 — Arrive in Tokyo and Keep the First Evening Easy
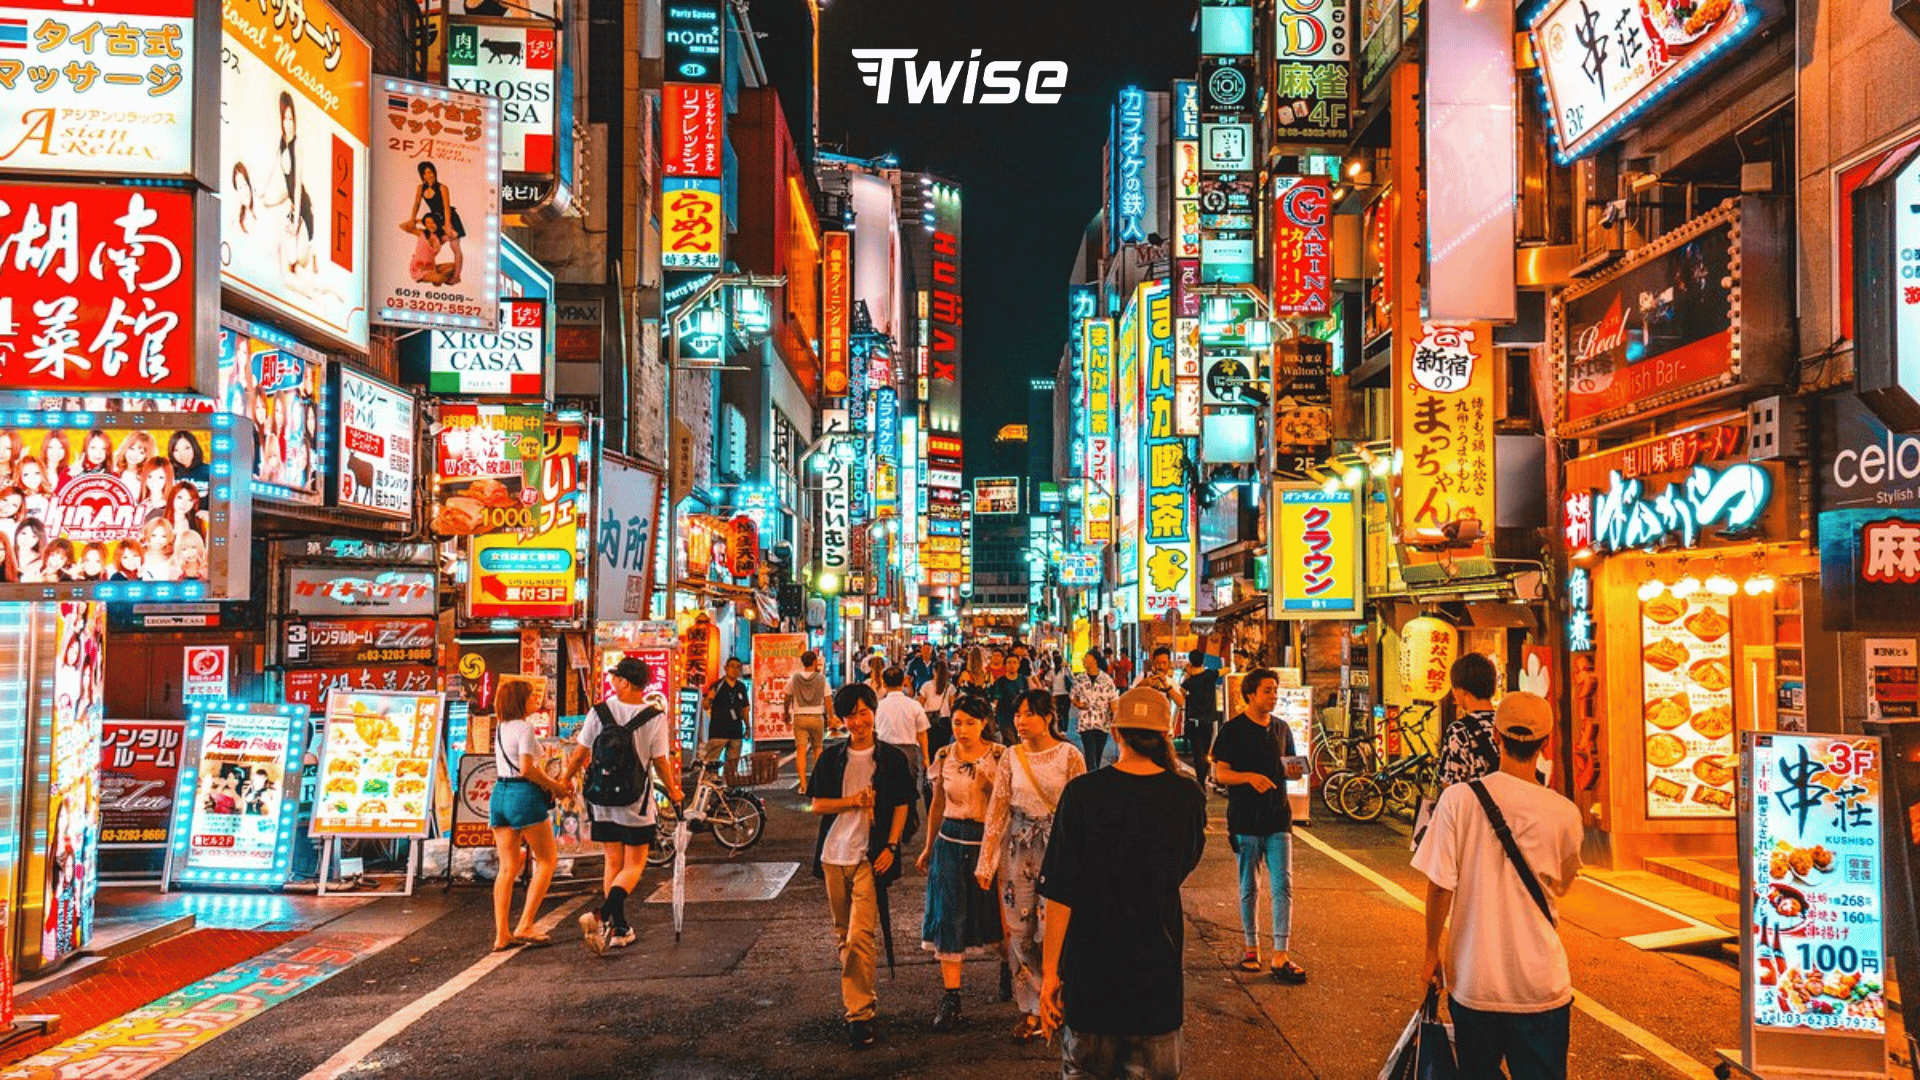
At Narita or Haneda before leaving the terminal
Test data, check transport, arrange an IC card, and save your hotel’s Japanese address.
Choose one nearby evening area
Eat near your hotel in Shinjuku, Ueno, Shibuya, or another convenient neighborhood.
Where mobile data matters on arrival
A travel eSIM can support directions, translation, and hotel messages beyond terminal Wi-Fi.
Day 2 — Asakusa, Ueno and Akihabara
Morning: Senso-ji and Asakusa
Visit the temple, then browse surrounding streets as shops open.
Afternoon: Ueno or Tokyo Skytree option
Choose museums and park time or a skyline-focused afternoon, not both.
Evening: Akihabara
Explore gaming, electronics, or anime shops according to your interests.
Why these stops belong on the same day
They keep sightseeing concentrated in eastern Tokyo, reducing cross-city travel.
Day 3 — Meiji Jingu, Harajuku and Shibuya
Morning: Meiji Jingu
Start with the shrine’s wooded approach before the shopping districts.
Midday: Harajuku and Omotesando
Choose lively side streets, architecture, or cafés without rushing every block.
Evening: Shibuya
See the crossing and have dinner nearby.
Book timed viewpoints before the day if necessary
Reserve Shibuya Sky if it matters to you; check weather-related conditions.
Data use today
Expect walking searches, ticket retrieval, restaurant browsing, and messaging.
Day 4 — Modern Tokyo + Flexible Buffer
teamLab / Toyosu option
Choose teamLab Planets in Toyosu if interested; confirm the venue and admission slot.
Ginza or Odaiba
Pick shopping and dining or waterfront exploration.
Why Day 4 should remain partly flexible
Keep room for rain, missed sights, shopping, or jet-lag recovery.
Prepare for the Hakone/Fuji overnight
Pack overnight essentials and confirm luggage forwarding and ryokan arrival arrangements.
Day 5 — Tokyo to Hakone and the Mt. Fuji Area
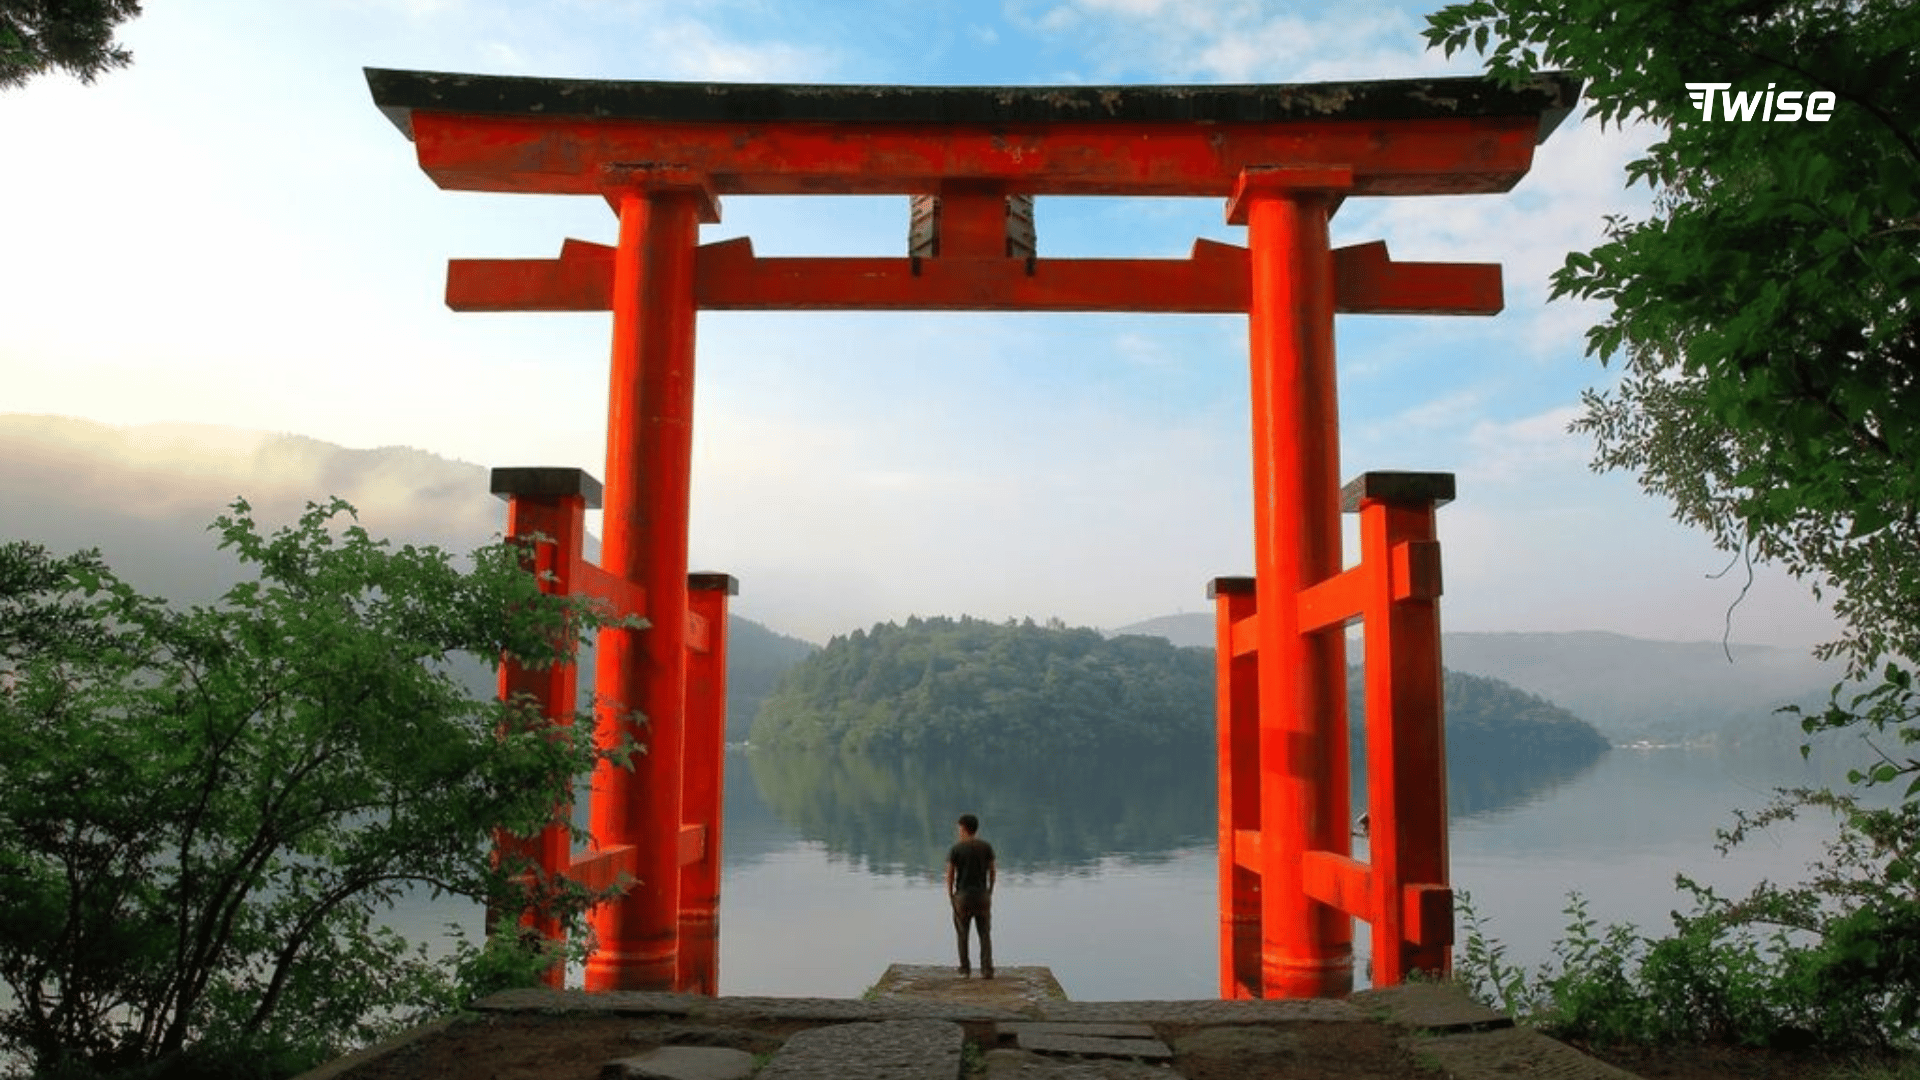
Why Hakone is the recommended default
It provides an onsen stop with onward access toward Kyoto via Odawara.
Tokyo → Hakone transport
Compare Shinjuku’s Odakyu route with your hotel location. Romancecar requires a limited-express supplement.
Lake Ashi / Hakone Shrine / ropeway options
Choose a manageable combination; transport can be affected by weather.
Stay in a ryokan
Confirm dinner, check-in deadlines, and bathing policies before arrival.
Don’t promise Mt. Fuji views
Cloud can hide the mountain completely. Hakone should remain worthwhile without it.
Connected vs offline backup
Save the ryokan address, last useful bus, and contact details.
Should You Choose Hakone or Kawaguchiko for Mt. Fuji?
Choose Hakone for route efficiency and onsen
Keep the planned overnight and continue toward Kyoto through Odawara.
Choose Kawaguchiko for classic Fuji views
Substitute it for Hakone, then recalculate onward connections; the transfer is different.
Should you do Mt. Fuji as a day trip?
Yes, if avoiding another hotel matters more than a slower overnight.
Weather-first planning
Check forecasts and transport status, but never assume visibility is guaranteed.
Day 6 — Hakone to Kyoto Without Wasting the Day
Slow morning in Hakone
Enjoy breakfast rather than attempting another complete sightseeing circuit.
Continue via Odawara toward Kyoto
Allow local-transfer time and choose a Shinkansen service stopping at Odawara.
Use SmartEX or another valid booking method for the Shinkansen
Confirm the boarding station, train, seat, and ticket conditions.
Kyoto evening
Choose an easy dinner near Kyoto Station or your accommodation.
Luggage strategy
Coordinate forwarded-bag delivery with the hotel; carry essentials until its confirmed arrival.
Day 7 — Kiyomizu-dera, Higashiyama and Gion
Start early at Kiyomizu-dera
Check opening hours and allow time for the uphill approach.
Walk Ninenzaka and Sannenzaka
Explore slowly, respecting residents and posted photography restrictions.
Continue toward Yasaka / Gion
Keep the afternoon within eastern Kyoto.
Don’t cross Kyoto for Arashiyama on the same day
Save western Kyoto for tomorrow instead of adding another lengthy transfer.
Mobile-data moment
Check walking approaches and bus alternatives, particularly when tired.
Day 8 — Arashiyama and Northwest Kyoto
Visit the bamboo area early
An early arrival leaves more flexibility for surrounding sights.
Tenryu-ji / riverside / monkey park options
Choose by interest and mobility; the monkey park involves an uphill walk.
Kinkaku-ji if energy/time permits
Add it only after checking travel time and last admission.
Build extra transit time into Kyoto days
Do not treat cross-city transfers as short walks between attractions.
Day 9 — Fushimi Inari + Flexible Kyoto
Fushimi Inari early
Begin before your other commitments, with comfortable footwear.
How much of the trail should first-timers hike?
Walking through the lower gates is different from completing the mountain circuit.
Afternoon choice
Choose Nishiki Market, Fushimi’s sake district, a museum, or rest.
Use this day as a weather/crowd swap if needed
Reorder Kyoto days around forecasts and reservations.
Day 10 — Nara Day Trip From Kyoto
Kyoto → Nara
Allow roughly an hour, depending on the service and stations.
Nara Park
Treat the deer as wild animals and follow local feeding guidance.
Todai-ji
Make the temple your main cultural stop.
Naramachi or Kasuga Taisha if time permits
Choose one extension rather than rushing both.
Kyoto → Osaka tonight or tomorrow?
Default: return to Kyoto, then move tomorrow. Continue to Osaka only if luggage arrangements suit.
Why Nara does not need a separate hotel for most first-timers
A day trip avoids another check-in without sacrificing the main sights.
Day 11 — Kyoto to Osaka + Dotonbori
Move to Osaka without overcomplicating it
Choose stations convenient for your hotels, not simply the fastest train.
Osaka Castle / Umeda option
Pick one afternoon cluster after dropping your luggage.
Dotonbori and Namba in the evening
Try takoyaki or okonomiyaki and explore the surrounding streets.
Why Osaka feels different from Kyoto
Allow more time for food, shopping, and evening entertainment.
Day 12 — Osaka City Day
Morning options
Choose Kuromon, Shinsekai, or Osaka Castle if previously skipped.
Afternoon options
Select the aquarium, Umeda, shopping, or relaxed neighborhood exploration.
Evening
Stay near Namba or Umeda according to your hotel.
Day 13 — Himeji, USJ or Return to Tokyo
Option A : Himeji
Choose the castle for history, allowing time for its steep interior stairs.
Option B : Universal Studios Japan

Dedicate the day and check admission and area-entry requirements in advance.
Option C : Stay in Osaka and slow down
Use this for unfinished sights, laundry, or rest.
Option D : Return to Tokyo
Prioritize this if departing from Haneda or Narita tomorrow.
Day 14 : Departure Without Creating a Travel Emergency
Departing from Kansai Airport
Confirm the airport train, terminal, ticket, and airline’s arrival guidance.
Departing from Haneda or Narita
Ideally, begin the day already in Tokyo.
Don’t leave your first airport-route search until checkout
Check the route and a backup the previous evening.
Keep connectivity active until you reach the airport
Plan validity should cover transfers, airline updates, and terminal searches.
Do You Need a JR Pass for This 14-Day Japan Itinerary?
Not automatically. Compare actual covered journeys with the pass cost.
When individual Shinkansen tickets may be better
A focused Tokyo–Kyoto–Osaka route may not justify nationwide coverage.
When a JR Pass can still make sense
Additional long-distance journeys can change the calculation.
What SmartEX does
It books Tokaido, Sanyo, and Kyushu Shinkansen journeys, not every Japanese train.
Don’t write a static “JR Pass saves X yen” claim
Check purchase channel and date: official JR Pass prices distinguish online and overseas-agency pricing.
Which IC Card Should Tourists Use in Japan in 2026?
Welcome Suica
The physical visitor card lasts 28 days from purchase; mobile products have separate terms.
TOURIST PASMO
This visitor card also lasts 28 days from purchase. Check official TOURIST PASMO conditions, including non-refundable balance.
PASMO PASSPORT is outdated
Do not base purchases on older PASMO PASSPORT guides.
IC card vs Shinkansen ticket
Stored-value local transport payment does not automatically reserve or purchase Shinkansen travel.
How to Handle Luggage Between Tokyo, Hakone, Kyoto and Osaka
When to carry luggage yourself
Compact bags suit straightforward transfers and manageable hotel approaches.
When luggage forwarding is valuable
Consider Tokyo-to-Kyoto forwarding while carrying an overnight bag through Hakone.
Shinkansen oversized-baggage rule
Bags exceeding 160 cm and up to 250 cm in combined dimensions need appropriate reservations on these corridors. Check JR Central’s baggage rules.
Measure before departure
Measure length, width, and height, including protruding parts.
Where Mobile Data Actually Matters During These 14 Days
Data supports station exits, Hakone transport updates, ticket retrieval, translation, and hotel messages.
Why airport Wi-Fi isn’t the full solution
It does not follow you into city streets or onward transfers.
Keep essential travel information offline anyway
Save addresses, booking details, first routes, and emergency contacts securely.
How Much Data Do You Need for 14 Days in Japan?
Light traveler
Maps, messages, and occasional booking searches may suit fixed data.
Moderate traveler
Add allowance for social browsing, images, and frequent translation.
Heavy-data traveler
Video, cloud backups, and hotspot use require closer attention to limits.
| Plan style | Check before buying |
|---|---|
| Fixed data | Total allowance |
| Daily data | Daily reset and speed reduction |
| Unlimited-style | Fair-use and hotspot restrictions |
| Roaming or pocket Wi-Fi | Total cost and practical limitations |
Compare Two-Week Japan Data Options
Is a Data-Only Japan eSIM Enough for This Itinerary?
When data-only is enough
It supports maps, translation, bookings, and internet messaging.
When another product may be better
Choose explicitly included voice/SMS if you need Japanese cellular calls or texts.
Keep your home SIM when useful
Compatible Dual SIM phones can retain it; home-carrier charges may still apply.

What to Do When Something Goes Wrong During the Trip
Mt. Fuji is hidden by clouds
Enjoy Hakone rather than sacrificing later reservations chasing visibility.
You miss the Shinkansen you planned
Ask staff and follow your ticket’s specific conditions.
Your Shinkansen has a disruption
Check official operator updates before arranging an alternative.
Your phone loses mobile data
Check the data line, validity, and required roaming. Do not delete the eSIM first.
Your route enters a lower-signal area
Use saved addresses, screenshots, and transport information.
You’re too tired for the schedule
Drop the lowest-priority attraction, not essential transfer buffers.
Japan 14-Day Pre-Trip Checklist
Transport
Confirm airports, train bookings, IC payment, and baggage requirements.
Accommodation
Save Japanese addresses and confirm ryokan timing and luggage delivery.
Connectivity
Check compatibility and unlock status before choosing Twise eSIM or another connection. Follow installation timing instructions.
Reservations
Book priority attractions; leave unreserved time for weather and recovery.
FAQs About a 14-Day Japan Itinerary
Yes, with focused sightseeing and controlled side trips.
Four arrival/sightseeing days provide a useful introduction.
Three sightseeing days, plus flexible transfer time, work well.
Choose Hakone for onward routing; Kawaguchiko for Fuji-focused scenery.
Sometimes. Weather determines visibility.
No. Calculate your actual covered fares first.
Welcome Suica or TOURIST PASMO can suit eligible visitors.
Yes, if fares and schedules make avoiding backtracking worthwhile.
Consider replacing another stop or extending the trip.
Often, for internet tasks; not ordinary cellular voice/SMS.
Yes, if the selected plan covers those destinations.
Preparation reduces arrival tasks. Confirm when installation and activation begin before installing it.
