

How Does an eSIM Work for International Travel? Complete Guide
How does an eSIM work for international travel? It downloads a digital mobile subscription onto a compatible phone, allowing you to connect to a supported network abroad without replacing your physical SIM. This guide explains how to check compatibility, choose a prepaid package, install the profile, and connect after arrival. Learn the difference between installation and plan activation, when to enable data roaming, and how to keep your home number available. Follow practical iPhone and Android instructions to prepare mobile data for maps, messages, bookings, and everyday travel while managing costs and avoiding common setup mistakes before your next trip.
What Are the Benefits of Using an eSIM?
A travel eSIM lets you arrange destination connectivity digitally, potentially before leaving home. There is no physical card to collect, insert, or keep safe.
The practical benefits include:
- Arrival readiness: Set up access for maps, hotel messages, and airport transport.
- Separate travel data: Use a dedicated plan instead of your home carrier’s standard roaming data rates.
- Dual SIM flexibility: Keep your usual number available on a compatible device.
- Destination choice: Select coverage and validity that match the itinerary.
- Less SIM handling: Avoid removing and misplacing your physical home SIM.
- Clear package selection: Compare data, validity, hotspot conditions, and included services before paying.
An eSIM does not create coverage of its own. Your phone still needs a usable signal from a supported mobile network. It cannot guarantee reception in underground stations, remote mountains, or every hotel room.
Also, not every travel eSIM is a domestic carrier subscription. Some connect through roaming agreements with local networks. A plan covering one country is not automatically a local-carrier plan, and digital installation alone does not determine speed or network priority.
The package’s network arrangements matter more than the SIM’s physical or digital format.
How Does an eSIM Work for International Travel?
Prepare for Your eSIM Setup
Before buying, confirm that your phone is unlocked, supports the intended eSIM, and can access a reliable internet connection for installation.
Do these checks on the actual device you will carry. A family member’s similar-looking phone may have different regional hardware or carrier restrictions.
1) Ensure Your Phone is Unlocked
An unlocked phone can accept mobile subscriptions from providers other than the carrier that locked it.
On iPhone, open:
Settings > General > About > Carrier Lock
Look for No SIM Restrictions. The field may instead be labeled Network Provider Lock.
If a restriction remains, contact the locking carrier before purchasing a third-party travel plan. Paying off a device and completing a contract do not always mean the unlock has already been processed.
Android does not have one universal lock-status screen. Ask the original carrier or test an active SIM from an unrelated carrier. Seeing several networks in manual network selection is not proof that the phone is unlocked.
Apple’s international eSIM travel guidance explains the need for an unlocked iPhone when using different carriers and how travel service can coexist with a home line.
2) Check if Your Phone is eSIM-Compatible
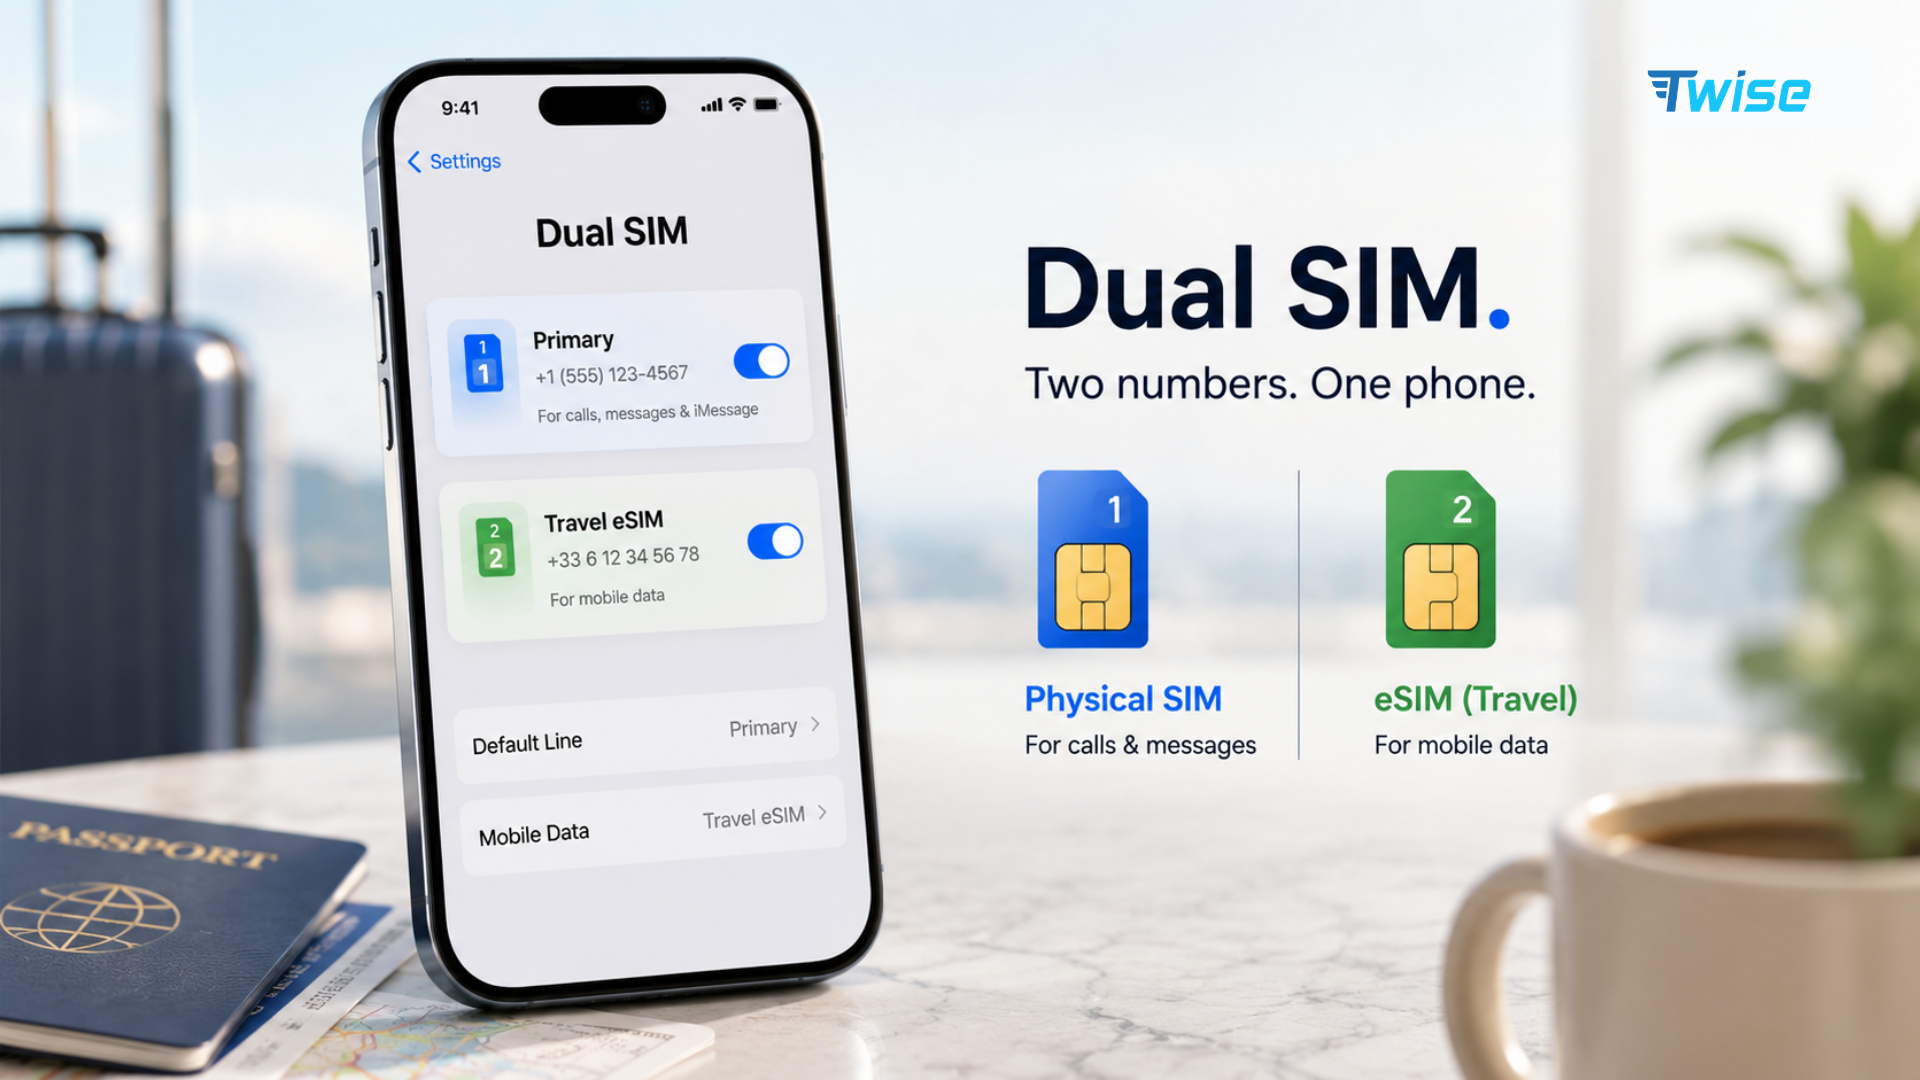
Check the exact model and original sales region, not just the phone’s name or release year.
Start with the relevant settings menu:
- iPhone: Settings > Cellular or Mobile Service > Add eSIM
- Samsung Galaxy: Settings > Connections > SIM Manager > Add eSIM
- Google Pixel: Settings > Network & Internet > SIMs > Add SIM
Menu labels vary by software version and device.
Then look for an EID, the identifier associated with the embedded SIM hardware, in the device information screen. Confirm compatibility against the manufacturer’s regional specifications and the provider’s requirements.
Two IMEI numbers indicate multiple mobile identities, but do not by themselves prove eSIM support. Some phones use two physical SIM cards.
Also distinguish between storing profiles and using them simultaneously. A phone may store several eSIMs while supporting fewer active lines at once.
3) Connect to Wi-Fi Before Installing Your eSIM
Installing an eSIM requires internet access to download the subscription profile. Use reliable home or hotel Wi-Fi, or another suitable connection allowed by the provider.
Before starting:
- Charge the phone.
- Save the order confirmation.
- Make the QR code accessible on another screen if needed.
- Keep manual installation details available.
- Read the activation policy.
- Check any installation or activation deadline.
Avoid beginning installation while boarding, moving between hotspots, or using an airport network that repeatedly disconnects.
Many activation codes have reuse restrictions. A failed attempt does not always make a code unusable, but deleting and reinstalling repeatedly can complicate recovery. Contact support if the profile’s status is unclear.
Step 1: Buy an eSIM
Choose a plan based on where you will travel, how long you need service, and what you need the phone to do.
A practical buying sequence is:
- Select the destination.
- Check the full coverage list.
- Choose the data allowance and validity.
- Review calls, SMS, and hotspot support.
- Read the activation instructions.
- Confirm device compatibility.
- Complete payment.
- Save the delivery email and installation details.
Do not buy solely because a package is labeled “unlimited” or “global.” Those terms still require checking the coverage, high-speed allowance, restrictions, and expiration rules.
Choose Your eSIM
Think through the actual itinerary.
Someone spending a week in Tokyo needs different coverage from a traveler visiting France, Switzerland, and Italy. A connection during a long airport layover may also matter if you plan to leave the terminal.
Ask yourself:
- Do I need mobile data in every transit country?
- Will I call hotels or businesses through the Phone app?
- Will I share data with a laptop?
- Can I use Wi-Fi for large uploads?
- What happens if the trip is extended?
Choose from Twise’s destination package eSIMs
Compare destination packages by their stated coverage rather than assuming that country, regional, and international labels mean the same thing across providers.
| Package scope | Suitable itinerary | What to verify |
| Single-country | One main destination | Included network and nationwide coverage limitations |
| Regional | Several countries in one region | Every stop, including countries outside common regional groupings |
| Multi-region, where available | Travel across several regions | Exact country list, validity, and network conditions |
| Separate destination plans | Different needs in each country | Installation rules and switching between profiles |
Travelers heading to America can compare USA plans according to network access, data needs, and whether calls or a local number are included.
For a European itinerary, review Europe travel options and check every destination individually. Geographic proximity does not guarantee inclusion in the same package.
Choose the best data packages for your eSIM
Estimate your needs from your existing usage rather than choosing an allowance from trip length alone.
Maps, messaging, and occasional browsing generally consume less data than video calls, streaming, cloud backups, and laptop tethering. Two travelers on the same seven-day trip may therefore need very different packages.
To make a practical estimate:
- Review recent cellular usage in your phone’s settings.
- Identify high-usage apps.
- Decide which activities can wait for Wi-Fi.
- Allow extra data for unfamiliar routes and travel searches.
- Check whether more data can be purchased later.
“Unlimited” may include daily high-speed limits, reduced speeds, or hotspot restrictions. Read those conditions before relying on the plan for remote work.
Also check how validity is measured. A package may use elapsed hours, calendar days, or a specified time zone. Do not assume every seven-day plan expires exactly 168 hours after connection.
Choose Your Payment Method
Use one of the methods shown at Twise checkout. Available payment options can vary, so do not assume that a competitor’s wallet, reward credit, or payment service is accepted.
Before confirming payment, review:
- Package name and destination
- Quantity
- Total price and currency
- Delivery email address
- Any required activation date
- Refund conditions
- Installation deadline
Complete purchases while you can still access payment verification. A bank may send a one-time code to your home number, which becomes inconvenient if you have already disabled that line abroad.
After payment, keep the order reference and provider instructions accessible. Do not publish QR codes or activation credentials in screenshots.
Step 2: Install Your eSIM
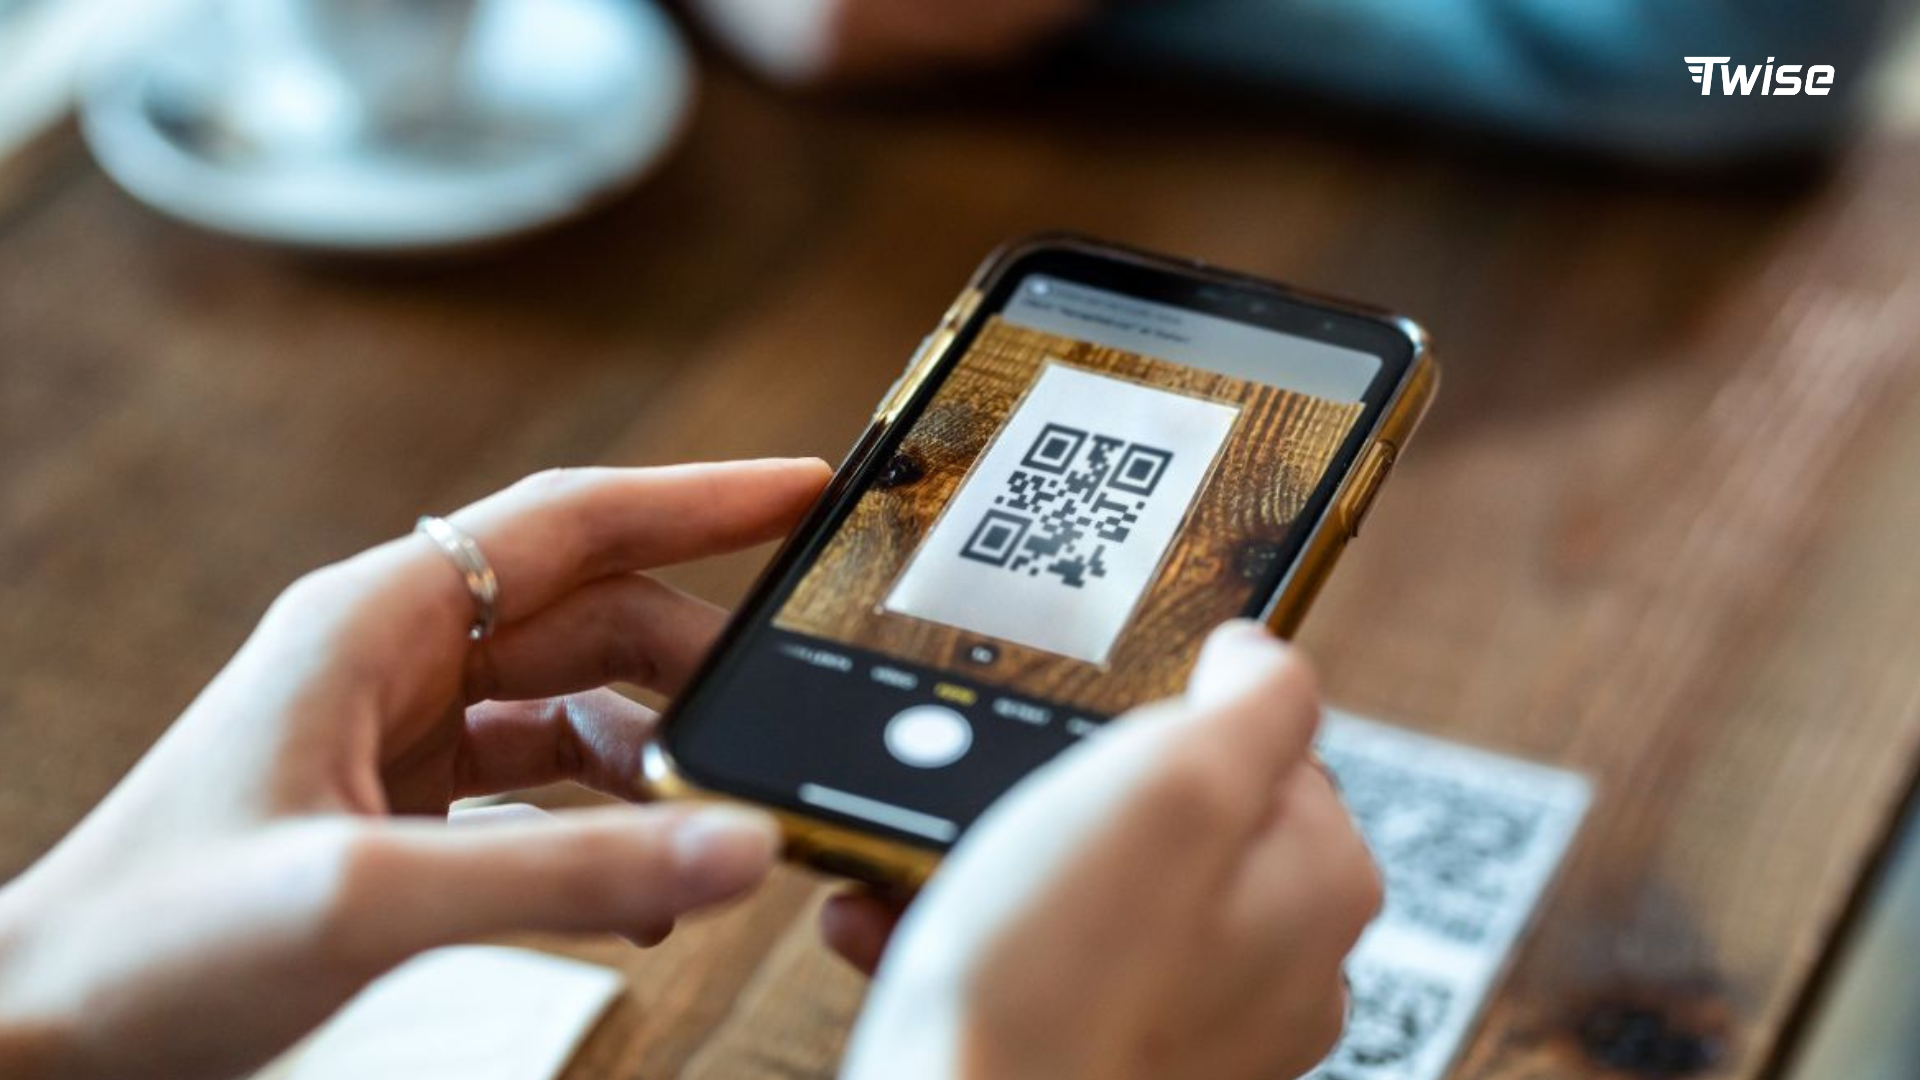
Installation adds the digital profile to your phone. It does not necessarily make the plan usable immediately or start its validity period.
Use the installation method supplied with your order. Depending on the provider, this may be a QR code, manual credentials, an installation link, or an app.
On iPhone using a QR code:
- Open Settings > Cellular or Mobile Service.
- Tap Add eSIM.
- Choose Use QR Code.
- Scan the supplied code.
- Follow the prompts to add the plan.
- Label it clearly, such as Travel.
- Review the selected voice and data lines.
If you cannot scan the code, use manual entry only with the details supplied by the provider. Apple’s eSIM setup instructions describe supported QR, link, app, and manual methods.
On a compatible Samsung Galaxy:
- Open Settings > Connections.
- Select SIM Manager.
- Tap Add eSIM.
- Choose the QR-code option.
- Scan the code and approve installation.
- Rename the line so you can identify it later.
On other Android phones, look under Network & Internet > SIMs, then follow the device’s prompts. Labels vary.
Afterward, confirm that the profile appears in the SIM list. A data-only profile may not display a usable phone number.
If you are outside its coverage area, “No Service” does not necessarily mean installation failed. Leave the profile installed and consult the provider’s instructions before troubleshooting.
Step 3: Activate/Connect Your eSIM
Connecting means enabling the installed profile and allowing the phone to register with a supported network.
For many travel plans, the arrival setup is:
- Turn off Airplane Mode when permitted.
- Enable the travel line.
- Select it for cellular or mobile data.
- Enable Data Roaming on that line if instructed.
- Keep Data Roaming off on the home line.
- Disable automatic data switching.
- Wait for network registration.
- Open a webpage to test mobile data with Wi-Fi temporarily off.
The roaming switch deserves attention. A travel eSIM can require Data Roaming because it uses partner networks, even though its usage is covered by your prepaid package. This is separate from using your home SIM at your home carrier’s roaming rates.
Apple’s cellular data guidance explains that international plans may require Data Roaming and that multiple-SIM devices have line-specific controls.
| Setting | Home line | Travel line |
| Line enabled | Optional, if needed for calls or texts | On when ready to connect |
| Selected for mobile data | No | Yes |
| Data Roaming | Off unless intentionally using home roaming | Follow the provider’s instructions |
| Automatic data switching | Disable where available | Keep the chosen data line fixed |
| Ordinary voice calls | Home-carrier charges may apply | Available only if the plan includes voice |
Explore Travel Connectivity Options
Keeping the home number active can still create charges for calls, messages, or voicemail. Turning off data roaming does not block every billable service.
If mobile data does not work, check the selected line, coverage, remaining allowance, roaming instructions, and any required APN. Restart the device if needed. Manually select a network only when the provider identifies a supported option.
Do not delete the profile as the first troubleshooting step. Save an error screenshot and contact support with the order reference.
When should you activate/connect your eSIM?
Follow the individual package’s activation policy.
Three common arrangements are:
- Starts on installation: Adding the profile begins the validity period.
- Starts on network connection: Validity begins when it first connects to an eligible network.
- Scheduled or manual activation: Service begins on a selected date or after a separate provider action.
Advance installation is useful when the plan starts on destination-network connection. However, a regional package could start during a covered transit stop before you reach your main destination.
Turning the line off usually does not pause validity once it has begun. Likewise, zero data usage does not prove that the countdown has not started.
Before purchasing a Twise eSIM, check the installation deadline, activation trigger, and covered networks for the specific package. These details are especially important when buying well ahead of a trip.
Frequently Asked Questions
You download a mobile subscription to a compatible phone. The profile authenticates the device with an authorized network abroad, providing the data, calls, or SMS included in the package. You then select that line for travel service.
Internet access is needed for installation, usually through Wi-Fi. After installation and successful network connection, the plan supplies mobile data without Wi-Fi, wherever supported coverage is available.
Installing a separate travel profile does not normally replace your existing subscription. A compatible Dual SIM device can retain both. Keep the home line enabled if you need incoming calls or SMS, subject to carrier availability and charges.
Only plans with voice service support ordinary calls through the Phone app. Data-only plans can support WhatsApp, FaceTime, and similar internet calls, but do not automatically include a callable number or SMS.
Often, yes. Check whether validity starts during installation or after connecting at the destination. Install early only when the package’s rules make that appropriate.
It can replace home-carrier roaming data with a prepaid travel allowance. However, charges can still arise if your home line remains active or is selected for data or calls. Correct Dual SIM settings remain important.
Transfer depends on the provider, plan, and device. Do not assume a QR code can be reused or that a phone backup restores the subscription. Ask about transfer or replacement before deleting the original profile.
Service may stop, slow down, or require an additional purchase, depending on the package. Top-ups are not universal. Check extension options before relying on the plan for a longer stay.
No mobile plan guarantees coverage everywhere. Reception depends on the supported network, terrain, buildings, congestion, and compatible device bands. Download essential travel information for offline access.
