




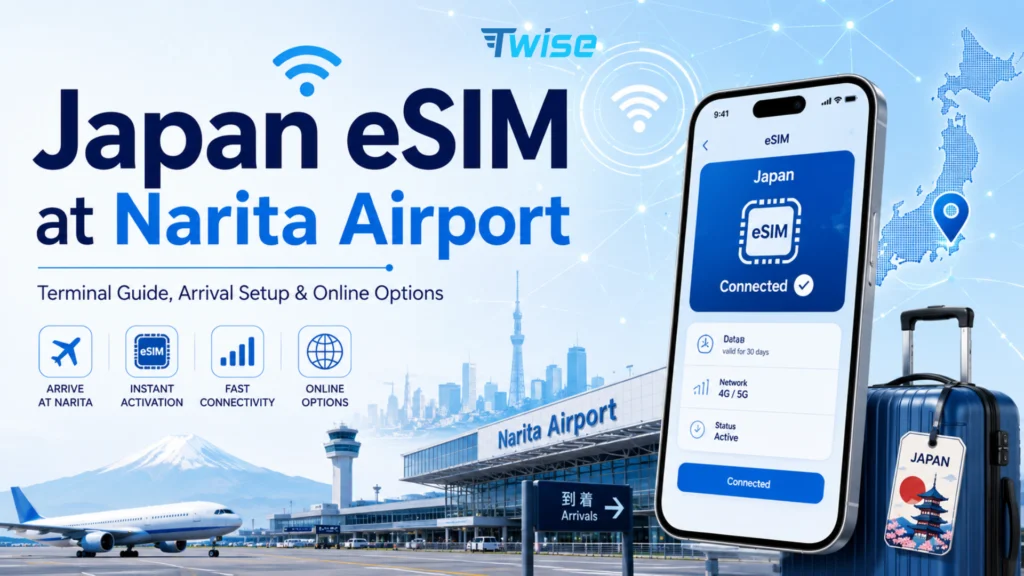
Japan eSIM at Narita Airport: Terminal Guide, Arrival Setup & Online Options
Aug
How to buy Japan eSIM at Narita Airport? Narita’s official airport information lists mobile-phone/Wi-Fi rental and SIM-card sales services across Terminals 1, 2 and 3, all located in the public landside area that arriving passengers reach after clearing customs. But SIM availability doesn’t automatically mean eSIM availability — not every counter or vending machine issues a QR-based eSIM, so it’s worth knowing what to expect before you land.
Quick answer: If your phone is already eSIM-compatible and unlocked, preparing a Japan eSIM before arrival is usually the simplest way to have data ready the moment you leave Narita. If you want in-person help or aren’t sure whether eSIM will work on your device, Narita does have staffed SIM and Wi-Fi counters — just confirm the exact product type at your terminal rather than assuming every counter sells what you need.
What Connectivity Can You Get at Narita Airport?
Online travel eSIM: Buy digitally before your flight and have the profile ready regardless of what happens to be available at your specific arrival terminal.
Prepaid SIM at Narita: The airport’s official directory lists SIM-card sales counters and vending machines across all three terminals, making a physical SIM a solid fallback if your phone doesn’t support eSIM.
Pocket Wi-Fi rental: Also available airport-wide — useful for groups or travelers connecting several devices to one router instead of buying multiple data plans.
Airport Wi-Fi as backup: Narita has free Wi-Fi, but treat it as a temporary bridge — enough to check instructions or buy an eSIM online — not your primary connection for the rest of the trip, since public Wi-Fi reliability varies by location and crowding.
Narita Terminal 1: Where to Get Connected After Arrival
Terminal 1’s international arrivals level (1F) is where most mobile phone/Wi-Fi rental and SIM-card facilities sit, in the landside area you reach after immigration and customs.
Current examples include JAL ABC counters — JAL ABC operates several T1 locations, including counters on the first floor before security and additional counters on the fourth floor — plus SIM vending machines from other operators. Always confirm current opening hours and whether the specific counter issues eSIM QR codes, not just physical SIM cards, since inventory changes.
When an online eSIM is easier: if you’re heading straight for the Narita Express, Keisei Skyliner, an airport bus, or a taxi, having data configured before you even reach the arrivals hall removes one more task from an already busy transfer.
Narita Terminal 2: SIM, Wi-Fi and eSIM Expectations
Terminal 2’s arrival level also includes mobile phone and Wi-Fi rental services, with SIM-related counters and vending machines elsewhere in the public terminal — for example, SIM pickup counters positioned near the arrivals exit.
Counters and vending options include operators like NINJA WiFi and other SIM/Wi-Fi vendors with T2 counters. As with T1, recheck current opening hours and confirm eSIM availability specifically, since not every listed counter issues one.
Arriving late at T2: don’t build your entire connectivity plan around a staffed counter — hours vary by operator and may not match a late-night or early-morning flight. Having a backup (online eSIM or saved offline info) protects you if the counter you were counting on is closed.
What About Narita Terminal 3?
Terminal 3 serves mostly low-cost carriers, and its arrival experience differs meaningfully from T1 and T2. The terminal has two Wi-Fi rental locations, including a Telecom Square store on the second floor of the main building, but its first floor arrival level, like the other terminals, officially lists mobile-phone and Wi-Fi rental facilities.
Why pre-arrival setup matters more here: T3 has a smaller footprint of connectivity vendors than T1 or T2 — travelers arriving at T3 generally need to walk over to T2 to reach a JAL ABC counter, since T3 doesn’t have its own location. This doesn’t mean T3 connectivity is “worse,” just that fewer options are within immediate walking distance, which is a good reason to prepare an eSIM before landing if you’re on a T3 flight.
Can You Actually Buy an eSIM at Narita Airport?
SIM sales are not the same as eSIM sales. Narita’s official directory labels most of these locations specifically as mobile-phone rental, Wi-Fi rental, or SIM-card sales facilities, without guaranteeing every one of them issues a digital eSIM profile. Don’t assume a vending machine or counter will hand you a QR code just because it sells “SIM cards”.
Check before depending on a specific counter: verify the terminal, current hours, whether eSIM is actually offered (versus physical SIM only), the plan type, and whether staff can help with device compatibility — ideally before you land, not after.
You can still buy online after landing. If your phone is compatible and airport Wi-Fi is working, you can purchase a digital travel eSIM even from inside Narita, as long as the product you choose supports installation without needing a data connection you don’t have yet (most eSIM QR installs only need Wi-Fi, not cellular data).
Narita Arrival Timeline: When Do You Actually Need Mobile Data?
Before immigration and baggage claim: mobile data is convenient here but rarely critical — airport signage and Wi-Fi generally cover this stage.
After customs: this is where connectivity starts mattering more — checking hotel messages, confirming transport reservations, and pulling up QR tickets.
Buying a train or bus ticket: having data ready helps you check Narita Express, Keisei Skyliner, or bus schedules and platforms in real time instead of relying on static signage alone.
From Tokyo Station or Ueno to your hotel: this last-mile stretch is often where working data matters most — first-time visitors navigating unfamiliar station exits and walking directions benefit the most from live maps at exactly this point, more so than at the airport itself.
Buy Before Landing vs. Get Connected at Narita
| Factor | Twise eSIM before arrival | Narita SIM/eSIM purchase | Narita pocket Wi-Fi |
| Ready before leaving arrivals | Yes, if prepared correctly | After purchase/setup | After pickup/setup |
| Need to find airport seller | No | Yes | Yes |
| Physical item | No | May be involved | Yes |
| In-person help | Remote | Usually available at counter | Usually available |
| Keep home SIM | Yes, on dual-SIM phones | eSIM yes; physical SIM depends on setup | Yes |
| Multi-country option | Available with regional plans | Product-dependent | Rental-dependent |
| Best for | Travelers wanting data prepared | Travelers wanting in-person purchasing | Groups / multiple devices |
Buying at the airport has a real advantage when you want face-to-face help. Preparing an eSIM beforehand simply reduces the number of tasks you have to complete between clearing immigration and starting your journey into Tokyo.
Prefer eligible no-KYC setup, instant QR delivery and dual-SIM convenience before you even land at NRT? Compare Twise Japan eSIM options.
What If Your Flight Arrives Late at Narita?
Don’t assume every counter is open for your flight. Individual Narita service locations publish specific operating hours rather than running 24/7, so a late arrival can mean some counters are already closed.
Save your first route offline — hotel address, transport route, and key booking confirmations — in case you need to leave the terminal before resolving connectivity.
Use airport connectivity to fix the problem before leaving. Free Wi-Fi at Narita can be enough to troubleshoot an eSIM installation, contact support, or buy an online backup plan on the spot.
Twise Japan eSIM vs. Narita Physical SIM vs. Pocket Wi-Fi
Twise Japan eSIM: built for travelers who want data prepared in advance — no-KYC setup on eligible plans, QR-based delivery, no equipment to collect or return.
Narita prepaid physical SIM: an important fallback for unlocked phones that don’t support eSIM, or for travelers who simply prefer a physical card they can see and handle.
Narita pocket Wi-Fi: makes sense for a family or group sharing one device, or anyone connecting several gadgets without buying separate data plans for each.
Home carrier roaming: the lowest-friction option on paper, but check your own carrier’s Japan pricing and data allowance first — roaming charges can be higher than a local or travel eSIM over a multi-day trip.
Which Narita Connectivity Option Fits Your Arrival?
- First-time visitor heading straight to Tokyo: prioritize connectivity that’s ready before you start the airport-to-city journey — an eSIM installed before departure covers this cleanly.
- Traveler who wants staff help: a Narita service counter is worth using if you want assistance with device setup or aren’t sure eSIM will work on your phone.
- Family or group traveling together: compare individual eSIMs against one shared pocket Wi-Fi router, depending on whether you’ll stay together all day.
- Japan plus Korea or another Asian stop: a regional eSIM reduces the number of profile changes needed when Narita is just your first stop on a longer trip — this is the strongest case for Twise‘s multi-country continuity.
Prepare Your Twise eSIM Before Landing at Narita
Check your phone before departure — confirm eSIM support, that it’s carrier-unlocked, and that dual-SIM works as expected if you plan to keep your home line active.
Receive and save your QR code so the installation details are accessible before you even board, not something you’re searching for after landing.
Follow the exact activation instructions for your specific Twise Japan plan — purchase, installation, and activation aren’t necessarily the same moment, so check the steps rather than assuming the eSIM is live the instant you buy it.
Want data ready before your Narita-to-Tokyo journey? Compare Twise Japan eSIM options for eligible no-KYC activation, digital QR delivery, and dual-SIM convenience — no dependence on an airport SIM counter.
Narita Airport eSIM: Prepare Before Arrival or Buy There?
- You mainly need tourist mobile data → prepare an eSIM before the flight.
- You want staff to help with connectivity → use one of Narita’s current mobile/SIM service locations.
- Your phone doesn’t support eSIM → compare a Narita physical SIM or pocket Wi-Fi.
- You’re continuing beyond Japan → consider a regional eSIM rather than buying destination-specific connectivity at every airport.

FAQ About Japan eSIM at Narita Airport
Narita has numerous mobile, SIM, and Wi-Fi facilities, but actual eSIM issuance is seller-specific — confirm with the counter or vending machine directly rather than assuming it’s available everywhere.
Yes — the official airport directory currently lists SIM-card sales facilities and vending machines across the terminals.
Narita publishes connectivity facilities across Terminals 1, 2, and 3, though the exact mix of providers and product types differs by terminal and floor.
Preparing in advance generally suits travelers who already know they only need mobile data. Buying at the airport can be useful if you want in-person assistance or aren’t confident about device compatibility.
Stay on airport Wi-Fi while checking your cellular data line selection and roaming settings, and follow your provider’s activation instructions before heading out for Tokyo.
More useful tips for your journey to Japan
- Why Many Travelers Choose eSIM for Japan Trips in 2026
- Best Japan eSIMs in 2026: How to Get Them + Full Comparisons
- Japan Wireless eSIM Review: eSIM, Pocket Wi-Fi or Better Alternative?
- Best eSIM Japan 10 Days for Tourists: How Much Data Do You Really Need?
