

How to Track Data Usage & Set Up Data Warnings for Your Travel eSIM on Android Phones
Sep
Learn how to set up data warnings on Android phones including Google Pixel and Samsung Galaxy before traveling. This guide explains the difference between a data warning, data limit and Data Saver, shows what threshold to choose for 1GB, 3GB, 5GB, 10GB and larger travel eSIM plans, and explains how to monitor fixed and daily data allowances. You will also learn which travel apps consume the most data, how to reduce background usage, what to do when an alert appears abroad and how to avoid losing connectivity when you still need Maps, tickets or hotel messages.
What Is a Data Warning on Android?
A data warning is an Android notification triggered when your phone records a chosen amount of mobile-data usage.
It helps you notice heavy consumption before your allowance runs out.
What happens when you reach the warning?
When you reach the threshold:
- Android displays a notification;
- mobile data normally remains active;
- your apps can continue using cellular data.
Google’s current Pixel guidance confirms that the warning generates an alert rather than automatically disabling data.
Data warning vs data limit
These settings solve different problems.
| Setting | What it does |
| Data warning | Alerts you at a chosen usage level |
| Data limit | Can turn mobile data off at a threshold |
| Data Saver | Restricts some background data usage |
A warning is usually safer for travelers because it gives you time to adjust usage without suddenly losing Maps or messaging.
Does a data warning match your eSIM balance exactly?
No.
Android measures traffic recorded by your device, while your eSIM provider measures consumption on its network. The numbers may therefore differ slightly.
Use Android warnings as an early alert, but use your provider’s usage information when you need the most accurate remaining allowance.
How to Set Up Data Warnings on Google Pixel
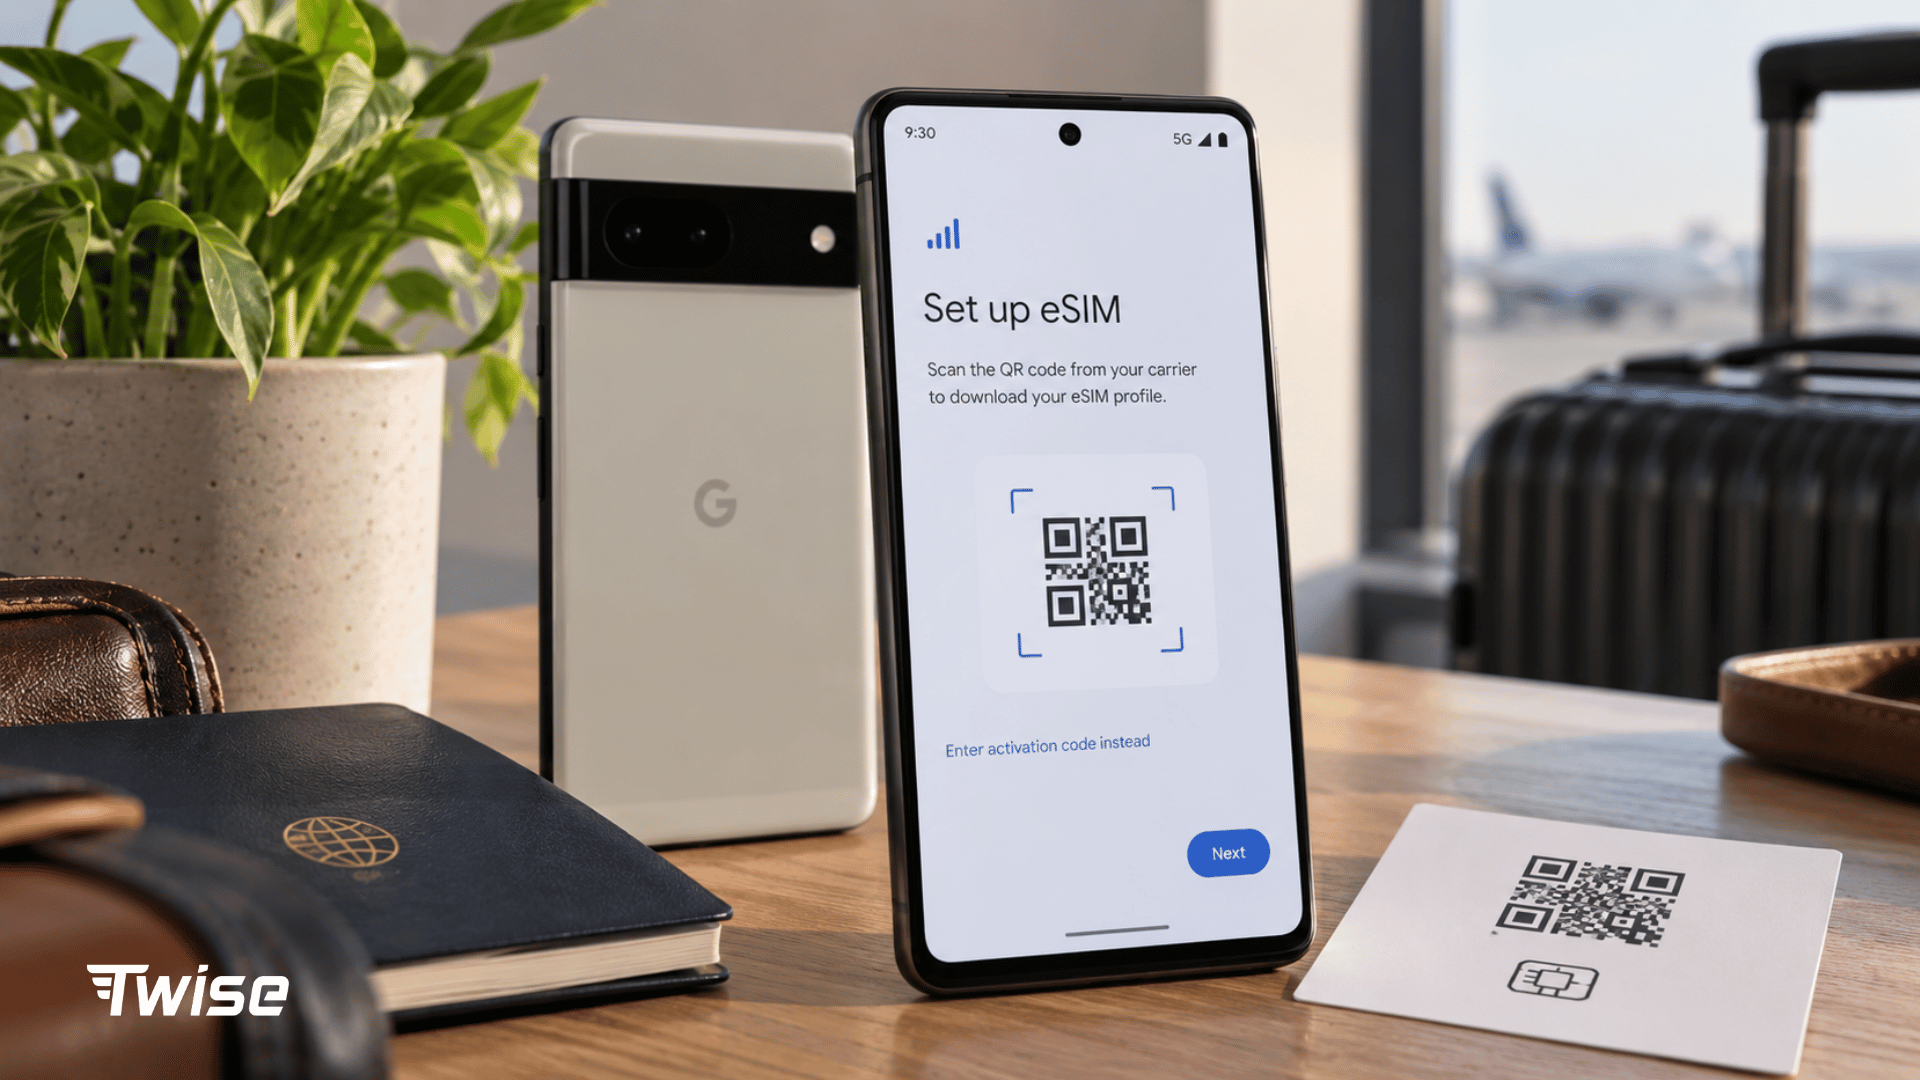
Google Pixel provides built-in controls to set up data warnings and separate hard limits. Google’s current documentation uses the following route.
Step 1 — Open Settings
Open your phone’s Settings app.
Step 2 — Tap Network & internet
Select Network & internet.
Step 3 — Tap SIMs
Choose SIMs, then select the SIM or eSIM you want to monitor.
Menu wording can vary slightly between Android versions.
Step 4 — Choose Data warning & limit
Open Data warning & limit.
Step 5 — Turn on Set data warning
Enable Set data warning if it is currently off.
Step 6 — Tap Data warning
Select Data warning to edit the threshold.
Step 7 — Enter your MB or GB threshold
Enter the amount you want Android to monitor. You can choose MB or GB.
For a 5GB travel plan, for example, a warning around 3.5–4GB gives you time to reduce usage before the allowance is exhausted.
How to set a hard data limit on Pixel
In the same menu, Pixel also offers Set data limit.
Unlike a warning, reaching this threshold can automatically disable mobile data. Use it cautiously while traveling because your connection could stop while navigating, booking transport or accessing a ticket.
How to Set Up Data Warnings on Samsung Galaxy
Samsung uses a different Android interface, so Pixel instructions may not match a Galaxy phone.
Step 1 — Open Settings
Open Settings.
Step 2 — Tap Connections
Choose Connections.
Step 3 — Tap Data usage
Open Data usage.
Step 4 — Choose Billing cycle and data warning
Select Billing cycle and data warning.
Samsung currently documents this menu for controlling warning thresholds, billing cycles and hard limits.
Step 5 — Turn on Set data warning
Enable Set data warning.
Step 6 — Choose your warning threshold
Enter your preferred amount of data.
For travel, consider setting the warning before the full allowance rather than at exactly 100%.
How to set the billing-cycle date on Samsung
Samsung lets you select the date when its data counter begins.
For a fixed travel eSIM, aligning this date with the plan’s activation date can make Android’s usage figure easier to interpret.
However, Android’s billing-cycle counter does not change your actual eSIM validity.
How to set a hard data limit on Samsung
Samsung also offers Limit mobile data usage or Set data limit on supported configurations.
When that threshold is reached, mobile data can be disabled automatically.
What If My Android Phone Uses a Different Menu?
Android menus vary across manufacturers such as Xiaomi, OnePlus, Motorola, Oppo and Vivo.
Rather than following an unrelated Pixel menu exactly, search your Settings app for:
- Data warning
- Data usage
- Mobile data
- Billing cycle
- Data limit
Some manufacturers also change menu names between Android or custom-interface updates.
If none of these options appear, check your manufacturer’s documentation instead of assuming your device lacks the feature.
What Data Warning Should You Set for a Travel eSIM?
For most fixed-data travel plans, 70–80% of the total allowance is a practical starting point.
| Travel eSIM allowance | Suggested warning |
| 1GB | 700–800MB |
| 3GB | 2.1–2.4GB |
| 5GB | 3.5–4GB |
| 10GB | 7–8GB |
| 20GB+ | Around 70–80% |
For a 1GB travel eSIM
Set the warning around 700–800MB.
A 1GB plan works best for relatively light use such as Maps, WhatsApp text, translation, mobile tickets and occasional browsing.
For a 3GB travel eSIM
Around 2.1–2.4GB leaves approximately 600–900MB in reserve.
That can be valuable during the final travel day.
For a 5GB travel eSIM
A warning at 3.5–4GB provides enough notice to move photo uploads or streaming to Wi-Fi.
For a 10GB travel eSIM
Try 7–8GB.
This provides more flexibility for social media and navigation without waiting until the allowance is almost exhausted.
For a 20GB+ travel eSIM
Think in percentages rather than exact megabytes.
A warning around 70–80% remains useful unless your trip involves unusually heavy hotspot, streaming or work usage.
Why you should keep data in reserve
Do not plan to reach your last megabyte at hotel checkout.
Keep some data for:
- airport transport;
- unexpected train changes;
- ride-hailing;
- emergency searches;
- messaging family;
- hotel or host contact.
How to Set Data Warnings for a Twise eSIM
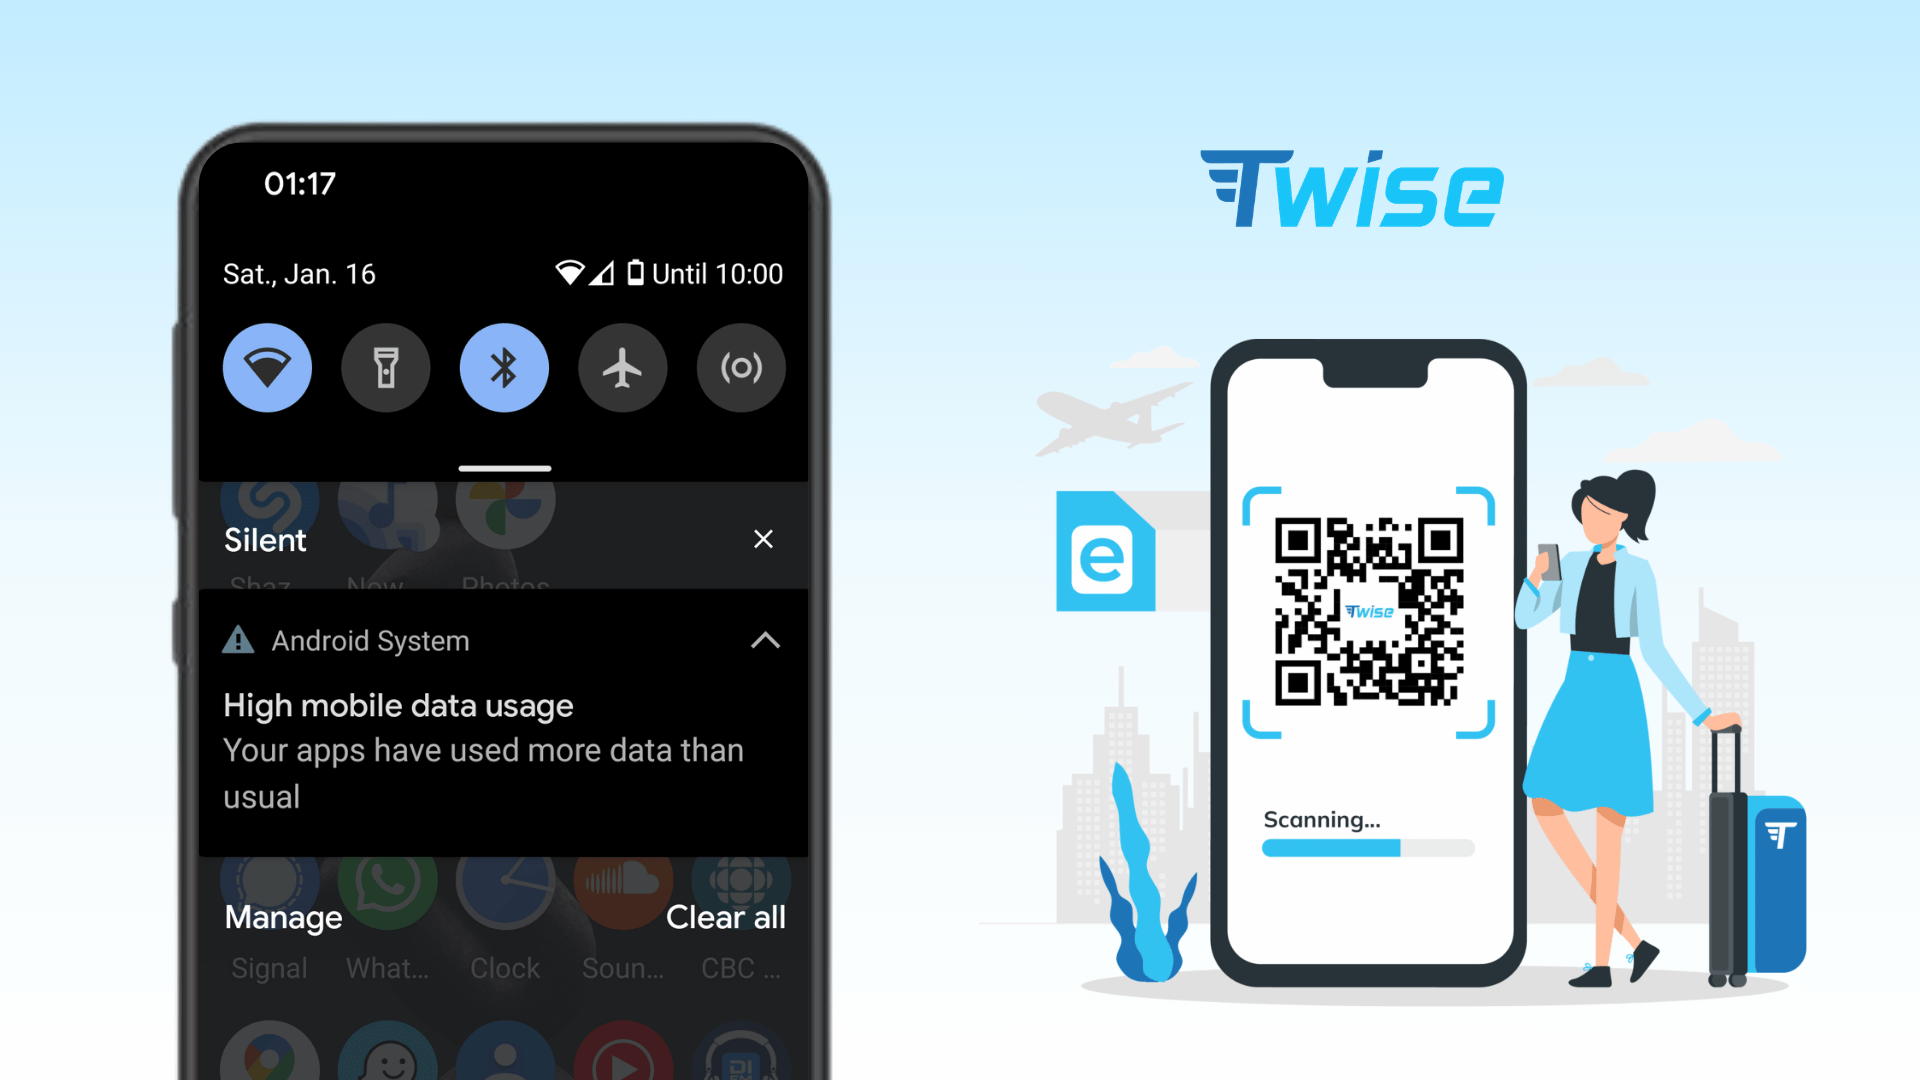
After choosing a Twise travel eSIM, first identify whether the plan has a fixed total allowance or resets data daily.
Confirm which SIM is being used for mobile data
A typical Dual SIM configuration might be:
- Home SIM: calls, SMS and OTPs
- Twise eSIM: travel mobile data
Make sure Android is monitoring the SIM actually being used for travel data.
Match the warning to your Twise data allowance
For example:
- 3GB plan → approximately 2.2GB
- 10GB plan → approximately 7–8GB
The goal is not perfect mathematical tracking. It is to create enough notice to adjust your travel behavior.
Keep your home SIM from accidentally using roaming data
Selecting a Twise eSIM for mobile data can help separate travel data from your normal line.
Still check the home SIM’s roaming settings. Dual SIM functionality does not automatically guarantee that roaming charges are impossible.
Check whether your Twise plan is fixed-data or daily-data
This distinction changes how useful Android’s cumulative warning is.
A traveler using a fixed 10GB allowance can track one clear bucket. Someone using 2GB of high-speed data per day may need to monitor each day’s provider allowance separately.
Daily Data Plan vs Fixed Data Plan: Set Your Warning Differently
Fixed allowance: Android warning works well
Consider a plan with 10GB for 30 days.
Android can track cumulative usage over the trip, making a 7–8GB warning easy to understand.
Daily allowance: Android’s monthly counter is less useful
Now consider 2GB per day with a daily reset.
Android can record total device usage, but your provider’s high-speed allowance may reset independently every day.
After five days, Android might show 7GB used even though your current day’s allowance has barely been touched.
What to do with a daily travel eSIM
For daily plans:
- check provider-side usage where available;
- understand when the daily allowance resets;
- avoid large background downloads;
- use Data Saver;
- monitor hotspot use carefully.
This is especially relevant when choosing high-data destination products such as a Japan eSIM, where your usage pattern may differ significantly between navigation-heavy sightseeing days and hotel Wi-Fi days.
Turn On Data Saver Before Traveling
What Data Saver actually does
Android Data Saver restricts some background mobile-data activity.
Samsung explains that apps may be prevented from sending or receiving background data while the feature is active.
When Data Saver is useful
Consider using it when you have:
- a 1–5GB plan;
- a longer trip;
- limited Wi-Fi access;
- little data remaining.
When you may want app exceptions
You may still want background access for:
- Maps;
- WhatsApp;
- banking apps;
- airline apps;
- ride-hailing apps.
Restricting essential travel apps too aggressively can delay useful notifications.
Which Apps Use the Most Travel Data?
Travel data disappears fastest when high-bandwidth activity happens quietly in the background.
| Activity | Data-risk level | Traveler recommendation |
| Maps/navigation | Low–moderate | Download offline maps |
| WhatsApp text | Low | Usually fine |
| Photo uploads | Moderate–high | Wait for Wi-Fi |
| Video calls | High | Prefer Wi-Fi |
| TikTok/Reels | High | Limit cellular use |
| YouTube/Netflix | Very high | Download beforehand |
| Cloud backup | High | Disable on cellular |
| App updates | High | Wi-Fi only |
| Hotspot | Potentially very high | Monitor carefully |
Check mobile data usage by app
Android lets you inspect how much cellular data individual apps have consumed.
If a warning appears much earlier than expected, check this list before assuming the eSIM itself is inaccurate. Google documents app-level usage monitoring within Pixel’s network settings.
Watch Google Play services too
Not all mobile usage comes from apps you actively open.
System services, synchronization and background processes can also consume cellular data, making Data Saver and app-level checks useful on smaller travel plans.
How to Save Data During Real Travel Situations
Airport arrival
Reserve data for Maps, airport trains, Uber or Bolt, and hotel messaging.
Avoid uploading a long travel video immediately after landing.
Hotel check-in
Use hotel Wi-Fi for photo backups, OS updates and large app downloads.
Maps and navigation
Download offline map areas before leaving reliable Wi-Fi.
Train and bus travel
Save mobile tickets, route details and hotel addresses offline.
Translation
Download offline language packs where available.
Banking and payment verification
Do not disable lines or apps required for authentication without checking how your bank verifies transactions.
Messaging hotels, drivers and guides
Allow essential messaging apps enough background access to receive time-sensitive updates.
Remote and low-signal travel
Offline maps, screenshots and emergency information remain useful.
No Data Saver or eSIM setting can create coverage where the local network has no usable signal.
What to Do When You Receive a Data Warning Abroad
1. Check how much data remains with your provider
Compare Android’s measurement with your actual plan allowance.
2. Check which app used the most data
Look for unexpected video, backup or hotspot consumption.
3. Disable photo and video backup
Move cloud synchronization to Wi-Fi.
4. Turn on Data Saver
Reduce unnecessary background traffic.
5. Move large downloads to Wi-Fi
This includes app updates, movies and offline media.
6. Save a data reserve for the airport or next travel day
Maps and transport access are often more valuable than another hour of streaming.
7. Top up only if your plan supports it and you actually need more data
First estimate how much data and travel time remain. Depending on the plan, topping up may not be available.
What to Do If the Data Warning Does Not Appear
Confirm Set data warning is enabled
Return to the mobile-data settings and check the toggle.
Check the selected SIM
Make sure you configured the travel eSIM rather than your home line.
Check the billing cycle
An incorrect start date can make Android’s counter confusing.
Confirm mobile data has actually been used
Wi-Fi usage does not normally count toward your cellular threshold.
Search Settings for “data warning”
This is often faster on customized Android interfaces.
Check the manufacturer’s instructions
Menu availability can depend on the phone, software version and active mobile connection. Samsung, for example, notes that some data-usage controls require an active SIM/mobile network configuration.
Data Warning vs Data Limit vs Data Saver — Which Should Travelers Use?
| Feature | Best for | Main consideration |
| Data warning | Almost all travelers | Does not stop usage |
| Data limit | Strict capped plans | Can cut connectivity unexpectedly |
| Data Saver | Small allowances | May restrict background apps |
| Provider tracker | Checking actual allowance | May not update instantly |
| Wi-Fi/offline tools | Conserving data | Wi-Fi is not always available |
For most travelers, data warning + Data Saver + provider usage checks offers the best balance.
Use a hard limit more carefully. Losing connectivity while finding a station, opening a mobile ticket or coordinating an airport transfer can create more inconvenience than using a small amount of extra data.
FAQs About Setting Up Data Warnings on Android
A data warning is a notification that appears after Android records a chosen amount of cellular usage. It helps you monitor consumption but normally does not stop your connection.
No.
A warning only alerts you. On supported Android devices, you need to enable a separate data limit if you want mobile data to turn off automatically after a threshold is reached.
For a limited travel eSIM, 70–80% of the total allowance is a useful starting point.
For example, set approximately 3.5–4GB for a 5GB plan. This preserves some data for navigation, transport and messaging.
Yes, on Android devices that provide data controls for the selected SIM or eSIM.
Make sure the travel eSIM is the line whose usage settings you are editing.
Android measures data recorded by the device, while your provider measures usage through its network.
Small differences can occur. Use provider-side information when you need to know the actual remaining plan allowance.
Only when strict consumption control matters more than uninterrupted connectivity.
A hard limit can prevent further data use, but it can also disconnect you while using Maps or transport apps. For many travelers, an earlier warning plus Data Saver is more practical.
Setting up data warnings before departure takes only a few minutes, but it makes a limited travel eSIM much easier to manage. The most useful approach is simple: set up data warnings before your allowance is nearly exhausted, monitor the apps using the most data and keep enough connectivity in reserve for the parts of the trip where mobile access genuinely matters.
